Enable the Store
Turn on the store feature for your members.
The Store admin page has one job: turn the store feature on or off for your site. Most of the actual setup — items, categories, shipping rates — is done by a Comptroller from the Store Manage screen, not here.
One Prerequisite: Stripe
You can't enable the store until Stripe is configured. The store depends on Stripe to process payments — without it, there's no way for members to pay. See the Stripe Setup page first.
You'll see a notice that checkout will run in "simulated" mode — meaning orders go through but no real money changes hands. Useful for testing; never use this in production.
Turning the Store On
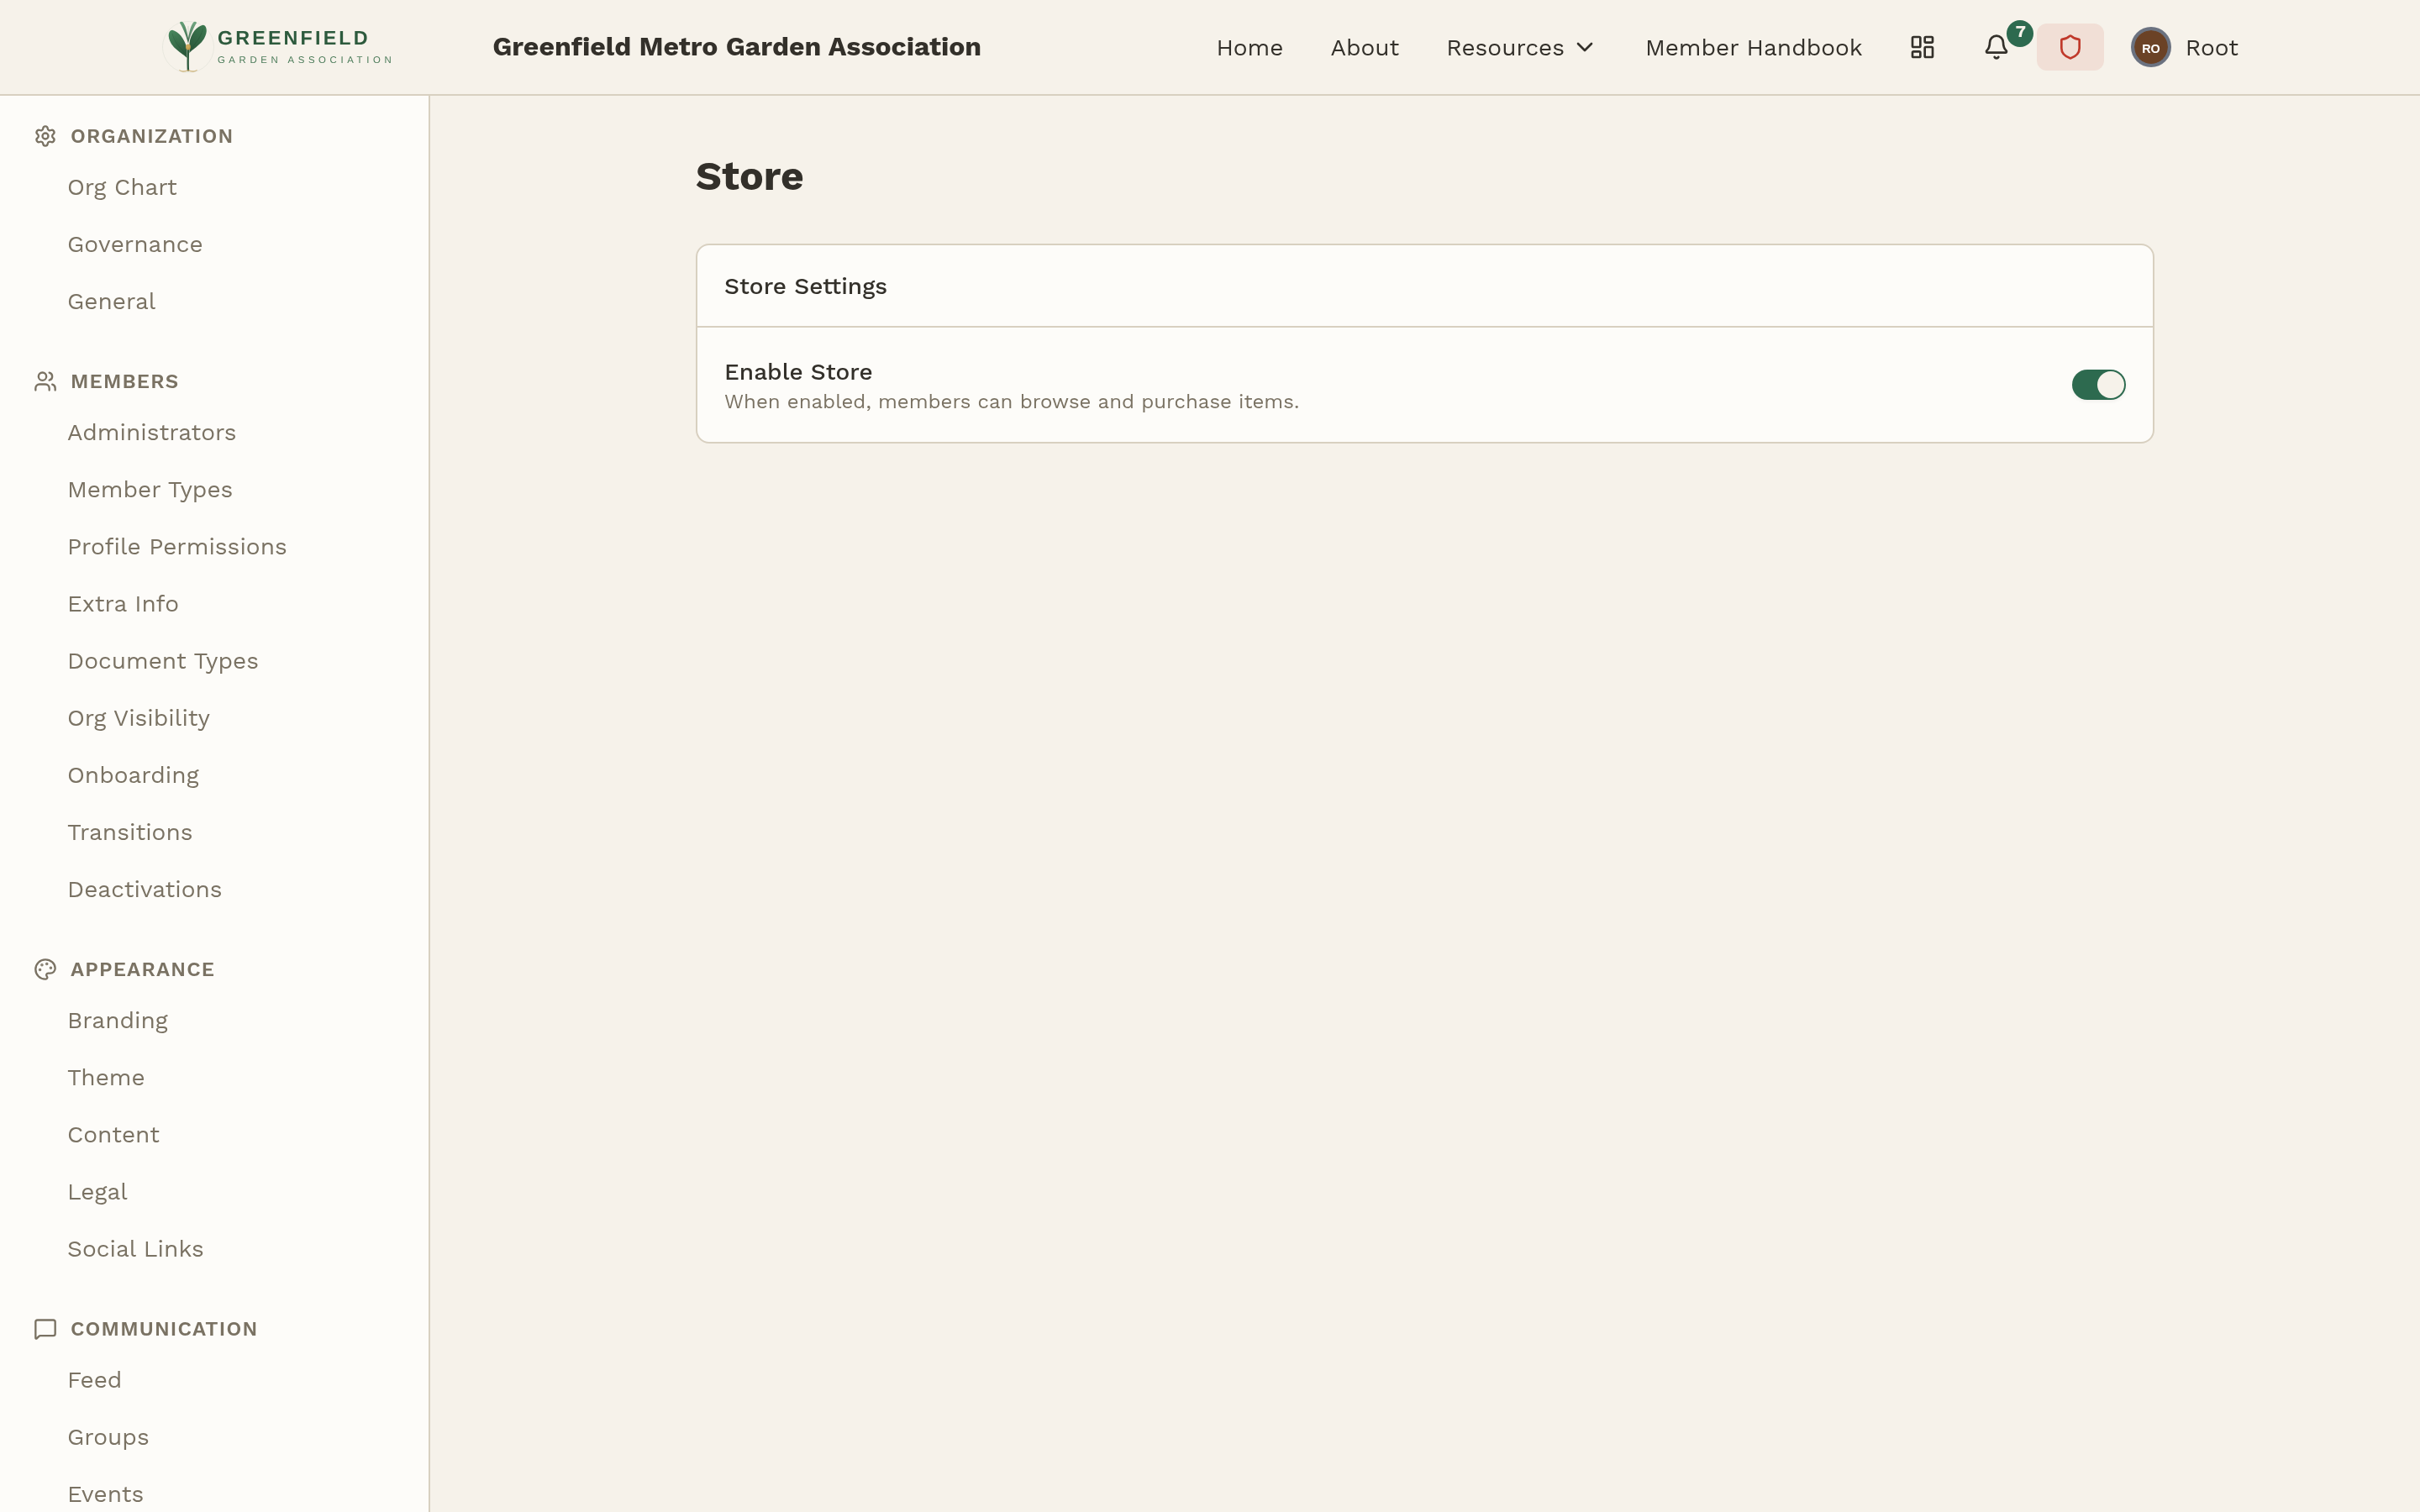
- In admin mode, go to Admin → INTEGRATIONS → Store.
- Under Store Settings, toggle Enable Store on. (When enabled, members can browse and purchase items.)
- The store is now live. Members will see Store in their sidebar and can click it to browse.
Who Manages What, Once It's On
- You (Site Admin) — flip the store on/off and configure Stripe. Anything system-level. (USPS live shipping rates are built in — nothing to configure.)
- Comptrollers — everything else. Items, categories, options, shipping rates, orders, financial categories, order fulfillment.
Site Admins do also get to see the Comptroller screens (you can do anything a Comptroller does), but in a normal setup you'd delegate that work to whoever handles money for the organization.
Turning the Store Off
Turning the store off hides it from members but keeps all the data — items, orders, categories — intact. Turn it back on and everything's where you left it. Use this if you're temporarily pausing the store (inventory overhaul, legal concerns) without deleting anything.