Onboarding Workflow
Control who can request new members, who approves them, which member types they can be assigned, and which profile fields are required up front.
The Onboarding page is found under MEMBERS → Onboarding in the admin sidebar. This is the gateway for every new member entering your organization through fellos. The page has four configuration sections, all on a single screen, and a Save Changes button at the bottom.
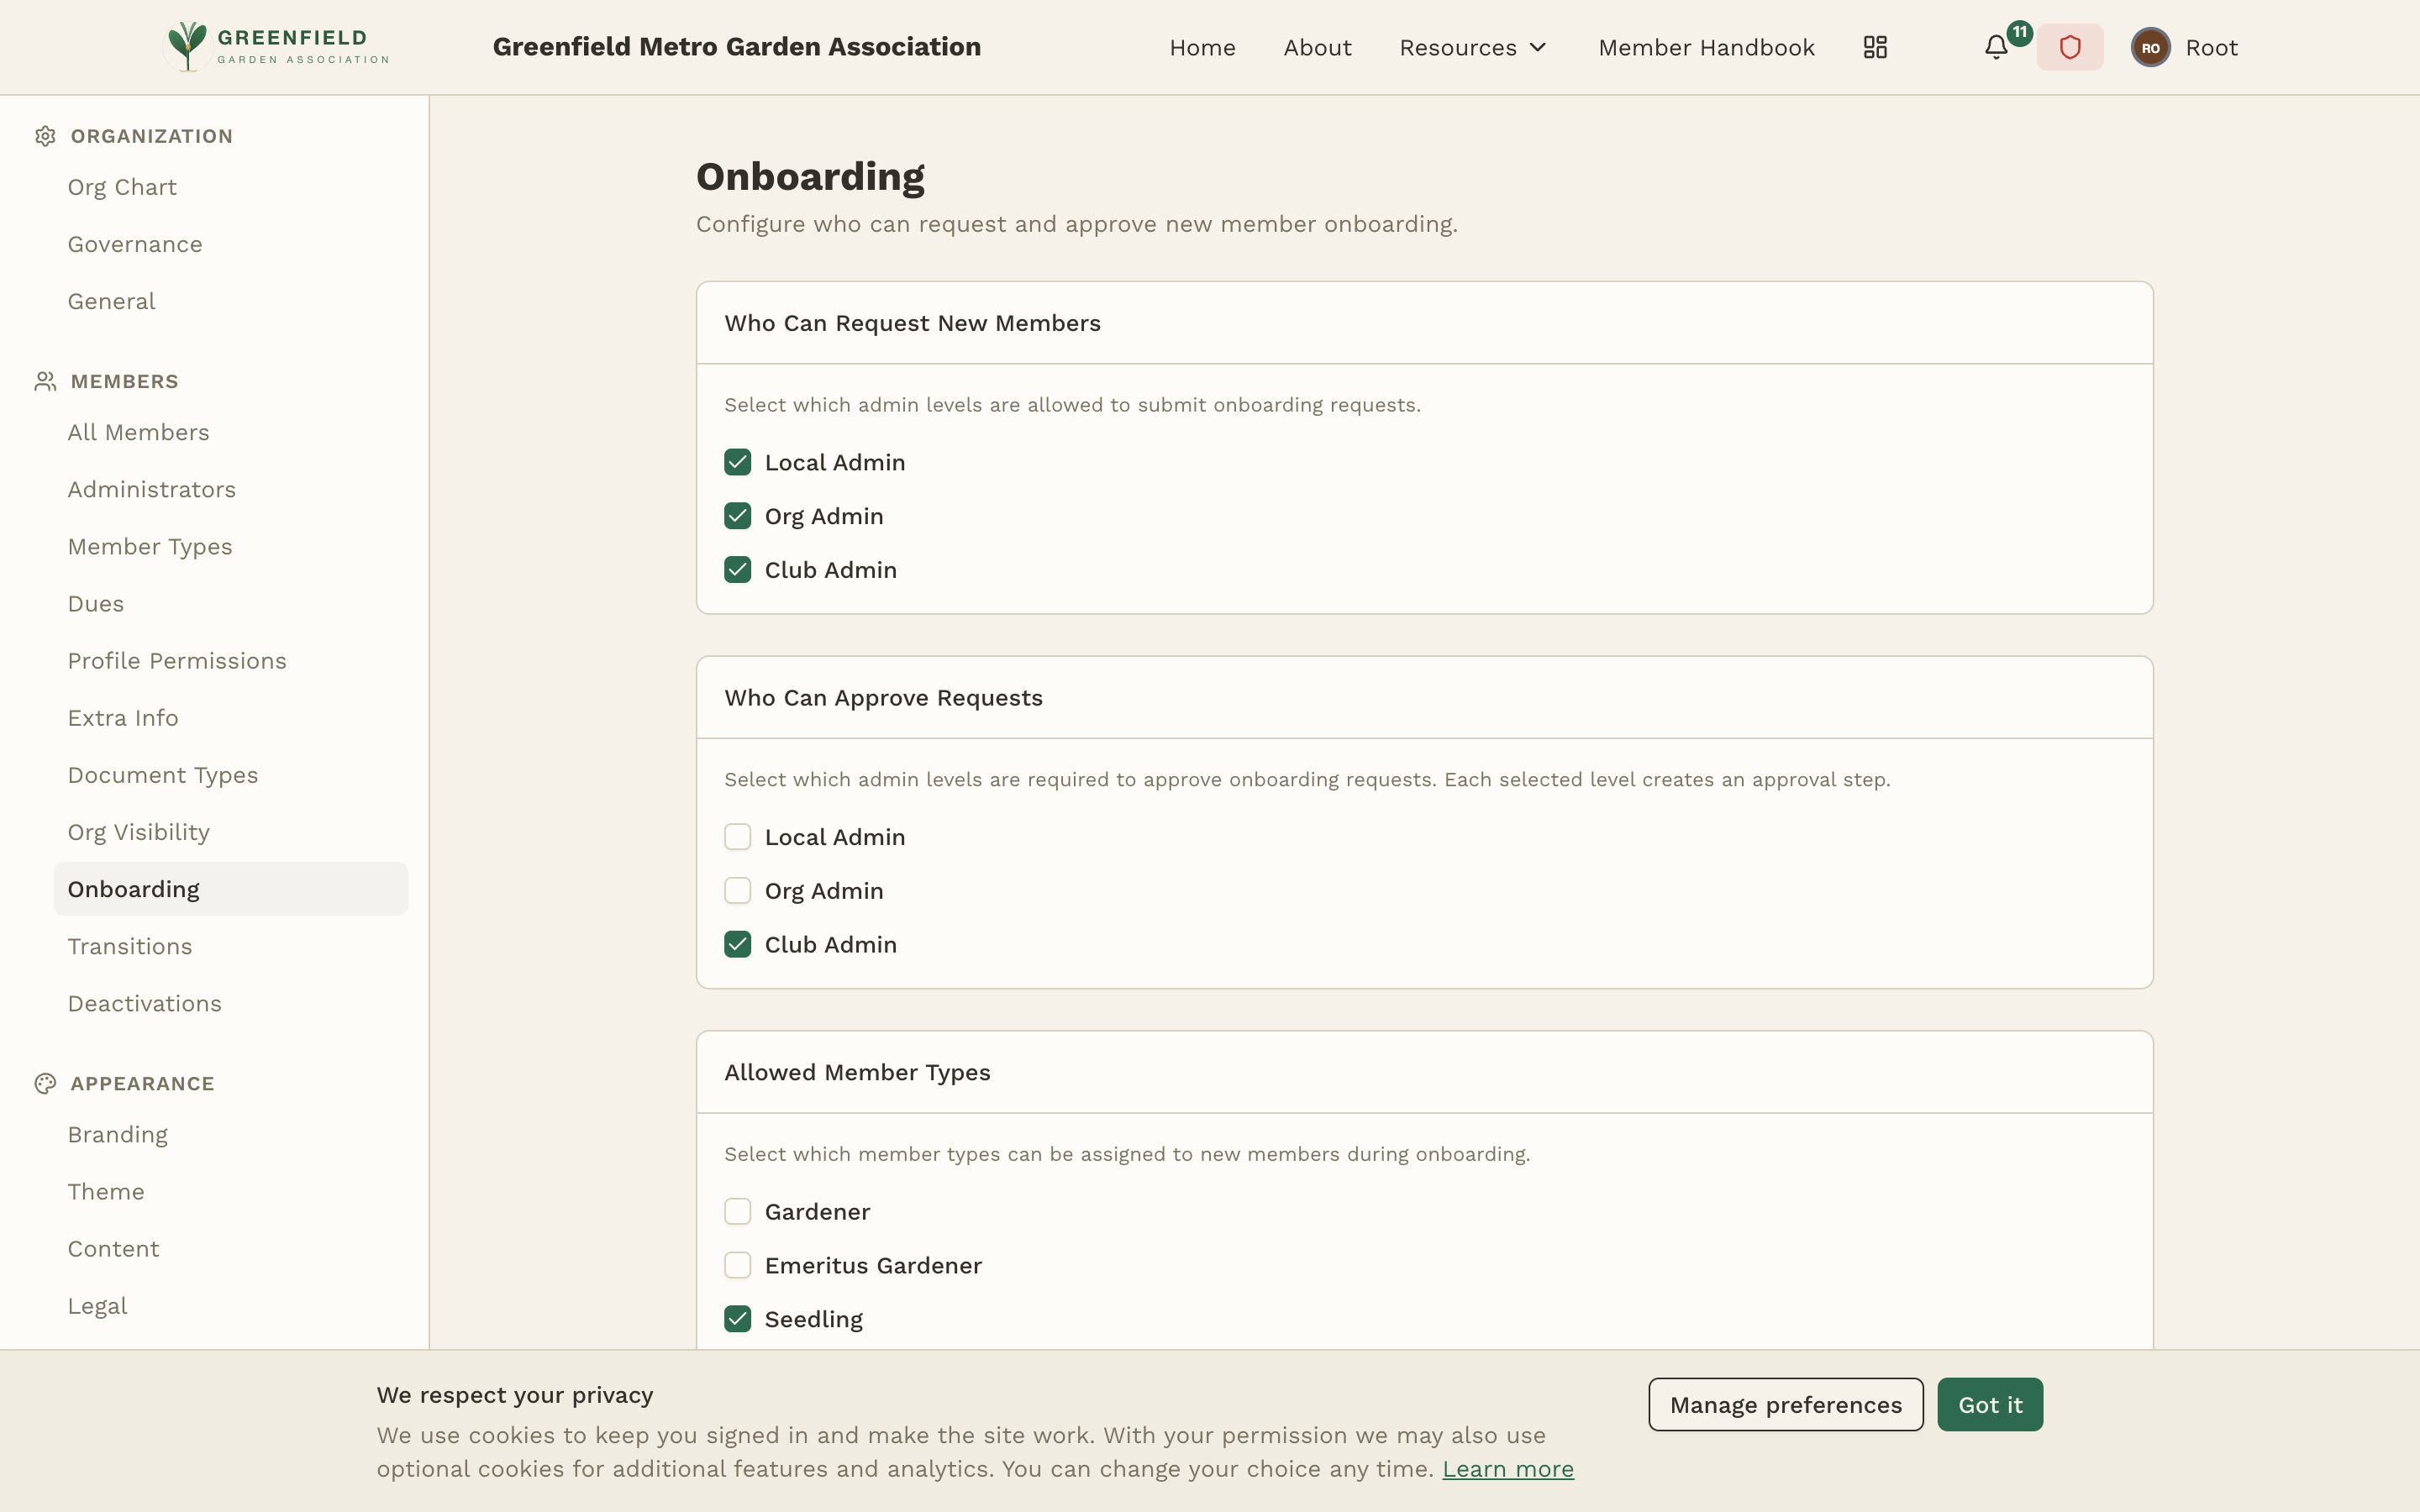
Who Can Request New Members
This section controls which administrator levels can submit an onboarding request for a prospective member. Toggle one or more:
- Local Admin — admins of a single specific organization (e.g. a chapter). Can request new members for that org only.
- Org Admin — admins of an org plus its sub-orgs (the Org flag covers sub-orgs below the role's org; pair with Local to also cover the role's own org).
- Club Admin — top-level site admins. Always recommended to keep enabled.
Who Can Approve Requests
This section controls which administrator levels are required to approve an onboarding request. Each level you select adds a separate approval step — selecting both Local Admin and Org Admin means a request needs both a local approval and an org approval before it goes through.
- Local Admin — can approve requests for their specific organization.
- Org Admin — can approve requests for sub-orgs below their org (pair with Local to also cover the role's own org).
- Club Admin — can approve any request across the entire club.
Most organizations check just Local Admin as the approver — chapter leadership knows the prospective member best. Add Club Admin only if you want centralized oversight of every new member.
Allowed Member Types
Select which member types can be assigned during onboarding. The requestor will pick from this set when filling out the request — typically you'd allow only your "starter" types (e.g. Seedling, Probationary) and exclude Emeritus or other types reserved for transitions.
Required Profile Fields
Tick the profile fields that must be filled in when an onboarding request is submitted. Available fields are the built-in profile fields:
- Personal: First Name, Last Name, Display Name, Email, Date of Birth.
- Contact: Phone Number, Address Line 1, Address Line 2, City, State / Province, Postal Code, Country.
- Profile: Sponsor.
Email is always required and cannot be unchecked — it's needed to send the invitation. For everything else, pick the minimum set that gives approvers enough information to make a decision; you can always collect more later through profile edits.
Saving Changes
Click Save Changes at the bottom of the page to apply. Changes apply to new onboarding requests only — requests already in progress keep the rules they were submitted under.
How Onboarding Works End-to-End
Once configured, the onboarding flow proceeds as follows:
- An authorized requestor creates a new onboarding request and fills in the required profile fields for the applicant.
- The applicant receives an email invitation with a link to complete their profile.
- Once the required information is submitted, the request moves to the approval queue.
- An authorized approver reviews the request and either approves or declines it.
- On approval, the new member's account is activated and they gain access to fellos based on their assigned member type.