Welcome to the Site Admin Guide
Full control over every aspect of your fellos platform — from branding and org structure to member workflows and integrations.
As a site admin, you have the highest level of access in fellos. You can configure the platform's appearance, define your organization's hierarchy, set up member types and permissions, build workflows for onboarding and transitions, manage communication channels, and connect integrations like email and push notifications.
This guide walks you through every setting and feature available in the admin panel, in the order we recommend configuring them.
Entering Admin Mode
The admin panel is not always visible. To access it, you need to activate admin mode. This is a deliberate design choice — it keeps the admin interface separate from the day-to-day member experience, so you can use fellos as a regular member without the admin controls getting in the way.
- Click your profile avatar in the top-right corner of the navigation bar.
- Click Admin Mode in the dropdown to toggle it on.
- A red shield icon appears in the navbar between your notifications and your avatar. Click it to open the Admin Panel.
- Admin mode stays active for 7 days, then automatically deactivates. You can also turn it off manually by clicking your avatar and toggling Admin Mode again.
When you've finished your admin work, toggle Admin Mode back off from your avatar menu. This drops your elevated privileges so you don't accidentally perform admin actions while using the site as a regular member.
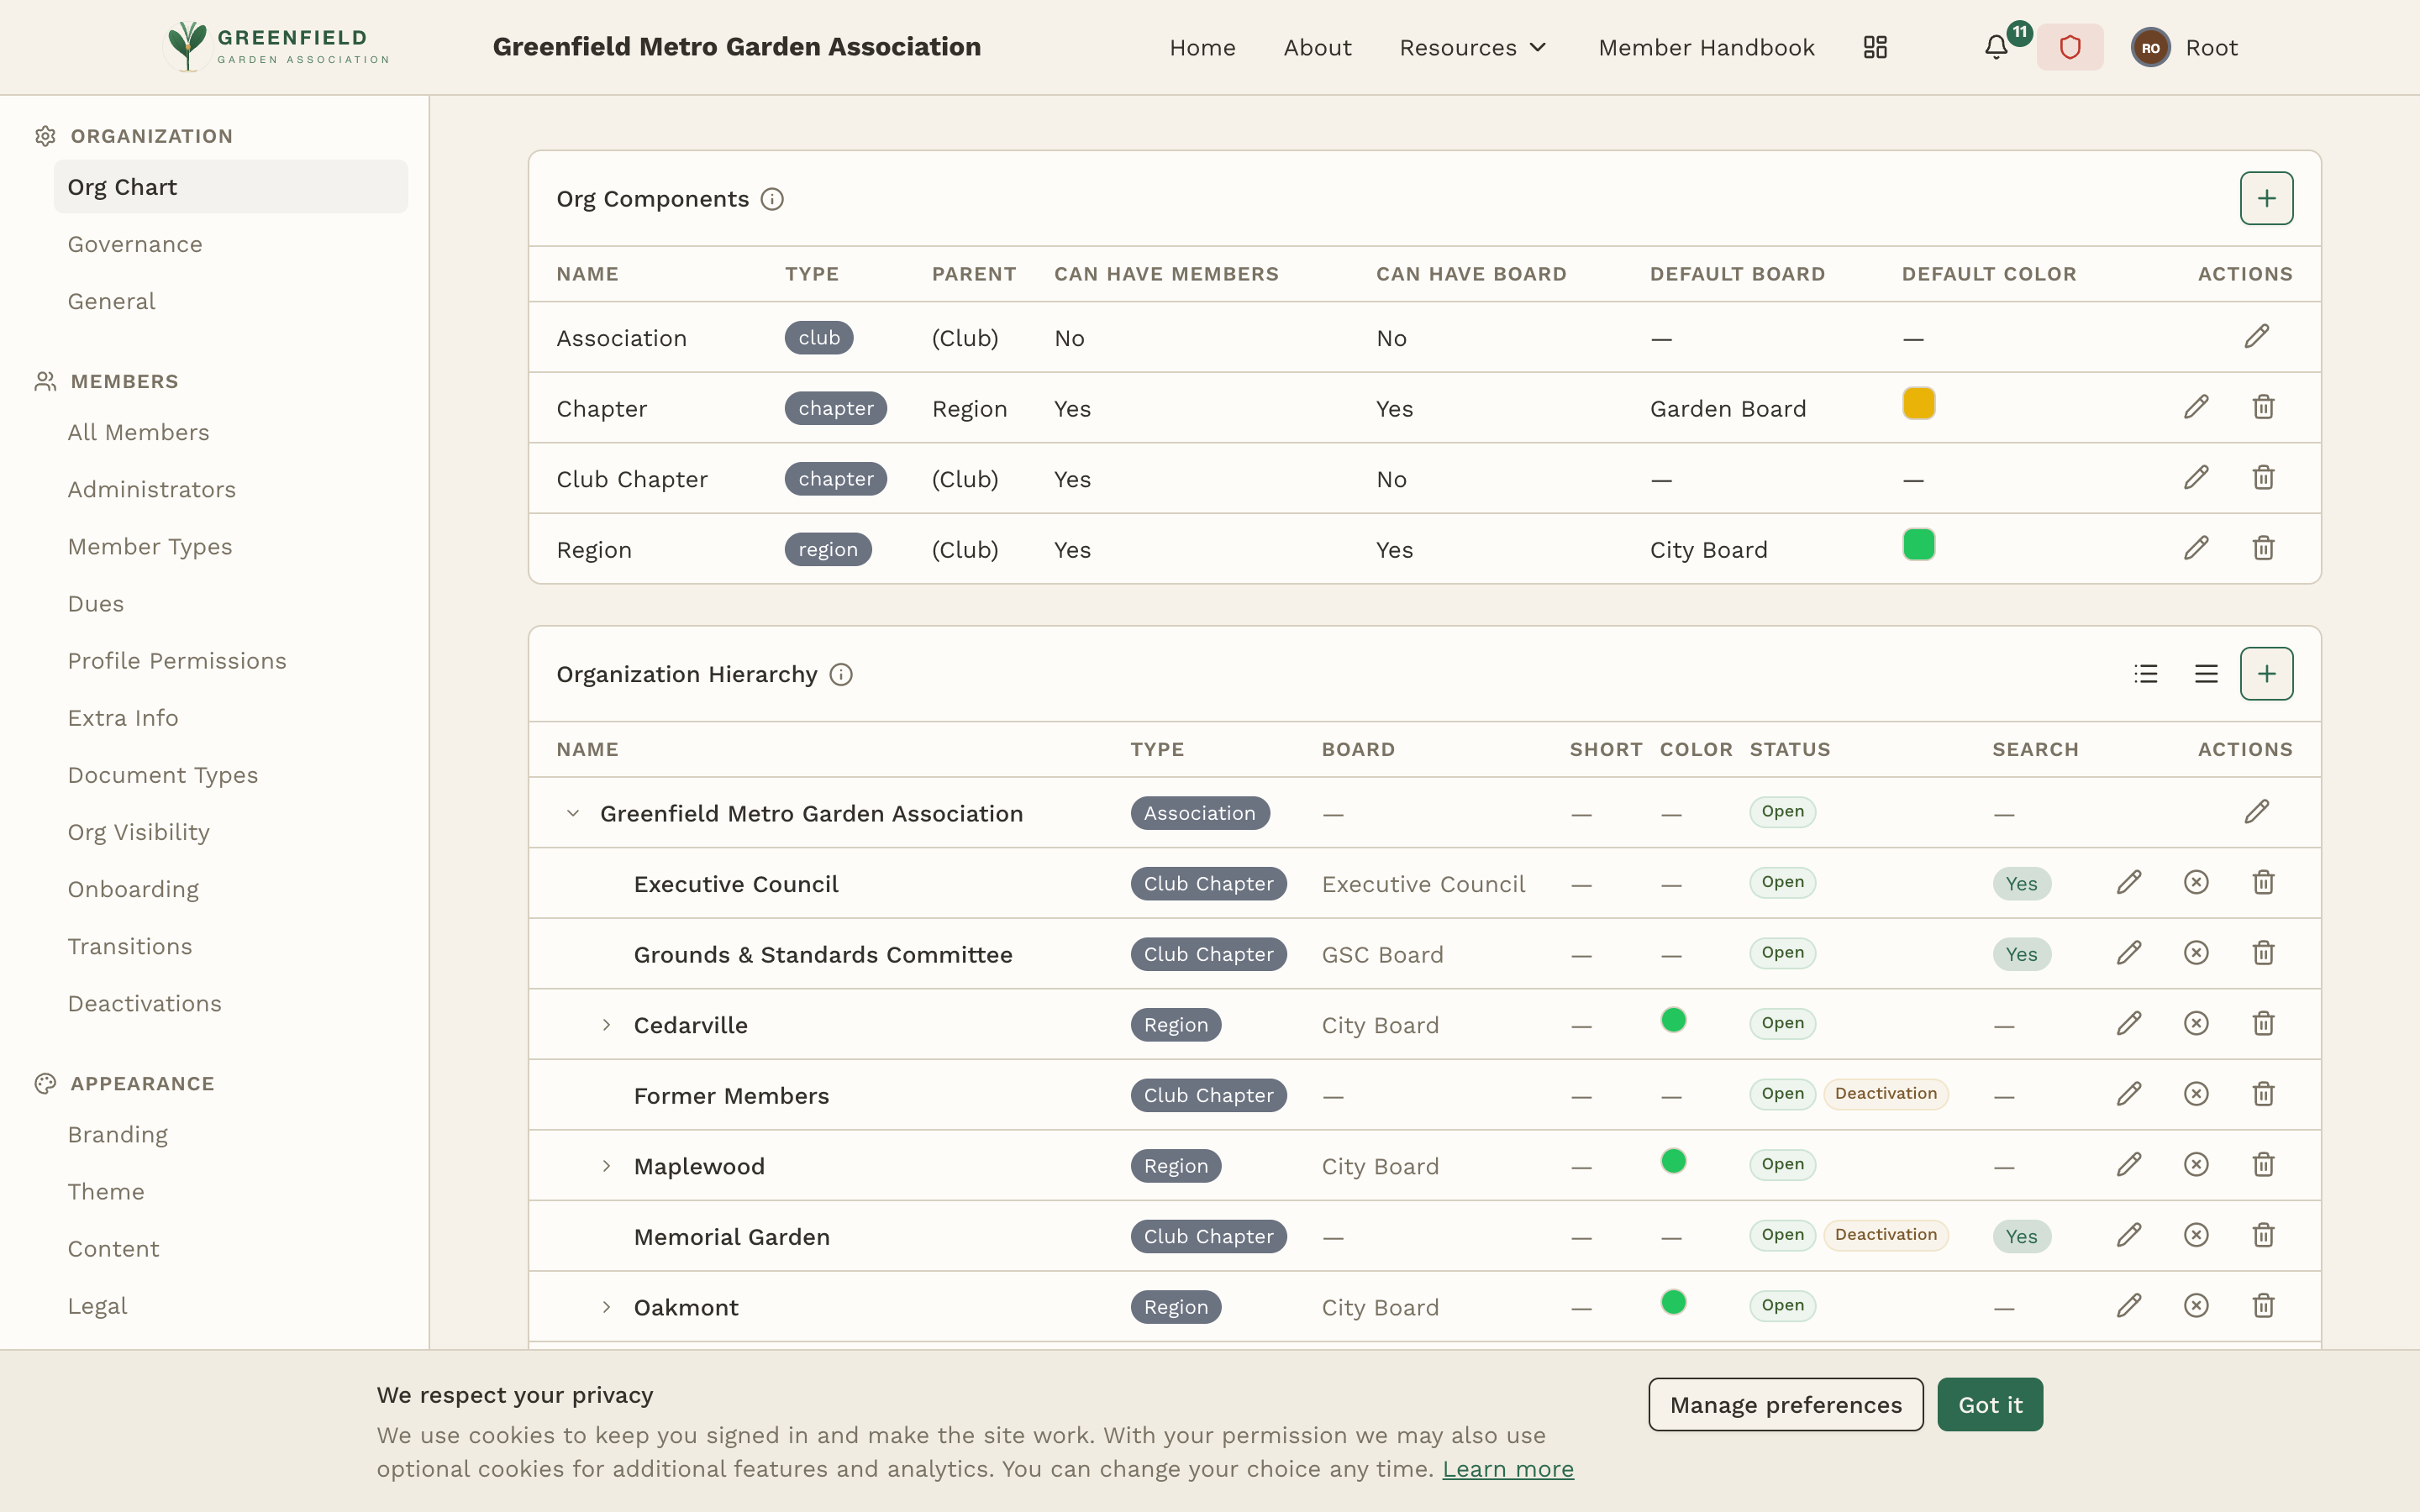
What Site Admin Covers
The admin panel is organized into several major sections, each controlling a different aspect of your fellos site:
🎨 Branding & Appearance
Set your organization's name, logo, favicon, theme colors, and font. Make fellos look and feel like your own platform.
🏛️ Organization Structure
Define your hierarchy (club, regions, chapters), set up governance roles, and configure how your organizational tree works.
👥 Member Configuration
Create member types, set profile permissions, define custom fields, configure attachment types, and control org visibility.
🔄 Workflows
Build onboarding flows, member type transitions, and deactivation processes with approval chains and automated steps.
💬 Communication
Configure the activity feed, create discussion groups, set up event categories, and manage notification preferences.
🔗 Integrations
Configure push notifications and OAuth providers for social login. Email delivery is built in — no provider setup required.
Site Admin vs. Org Admin
fellos has two levels of administrative access:
- Site Admin — Full access to every setting in the admin panel. Can configure the platform itself: branding, member types, workflows, integrations, and all global settings. There are typically only a few site admins (often just one or two people at the top level of the organization).
- Org Admin — Can manage members within their assigned organization unit (chapter, region, etc.). They can approve requests, manage local members, and handle day-to-day administrative tasks, but they cannot change platform-wide settings.
This guide is for site admins. If you're an org admin looking for guidance on managing members within your chapter or region, see the Org Admin Guide instead.
Recommended Approach
We recommend working through this guide in order. Each section builds on the previous one — for example, you'll want your branding set up before you configure member types, and your org structure defined before you build workflows. The next page, Planning Your Setup, helps you gather everything you'll need before you start configuring.