Store Overview
How the store works — what members see, what you see, and where to go for what.
The fellos store is a simple online shop built into your site. Members can browse items, add them to a cart, pay with a credit card, and receive their order — either physical things (shipped to them) or virtual things (downloads, workshop passes, etc.). As a Comptroller, you're the person behind the counter.
Two Views of the Same Store
Everyone sees the storefront at Store in the sidebar. For regular members, that's the whole picture — they can only shop. You see the same storefront (so you can double-check how things look to customers), plus a Manage Store button in the top right that opens a screen members never see.
What members see
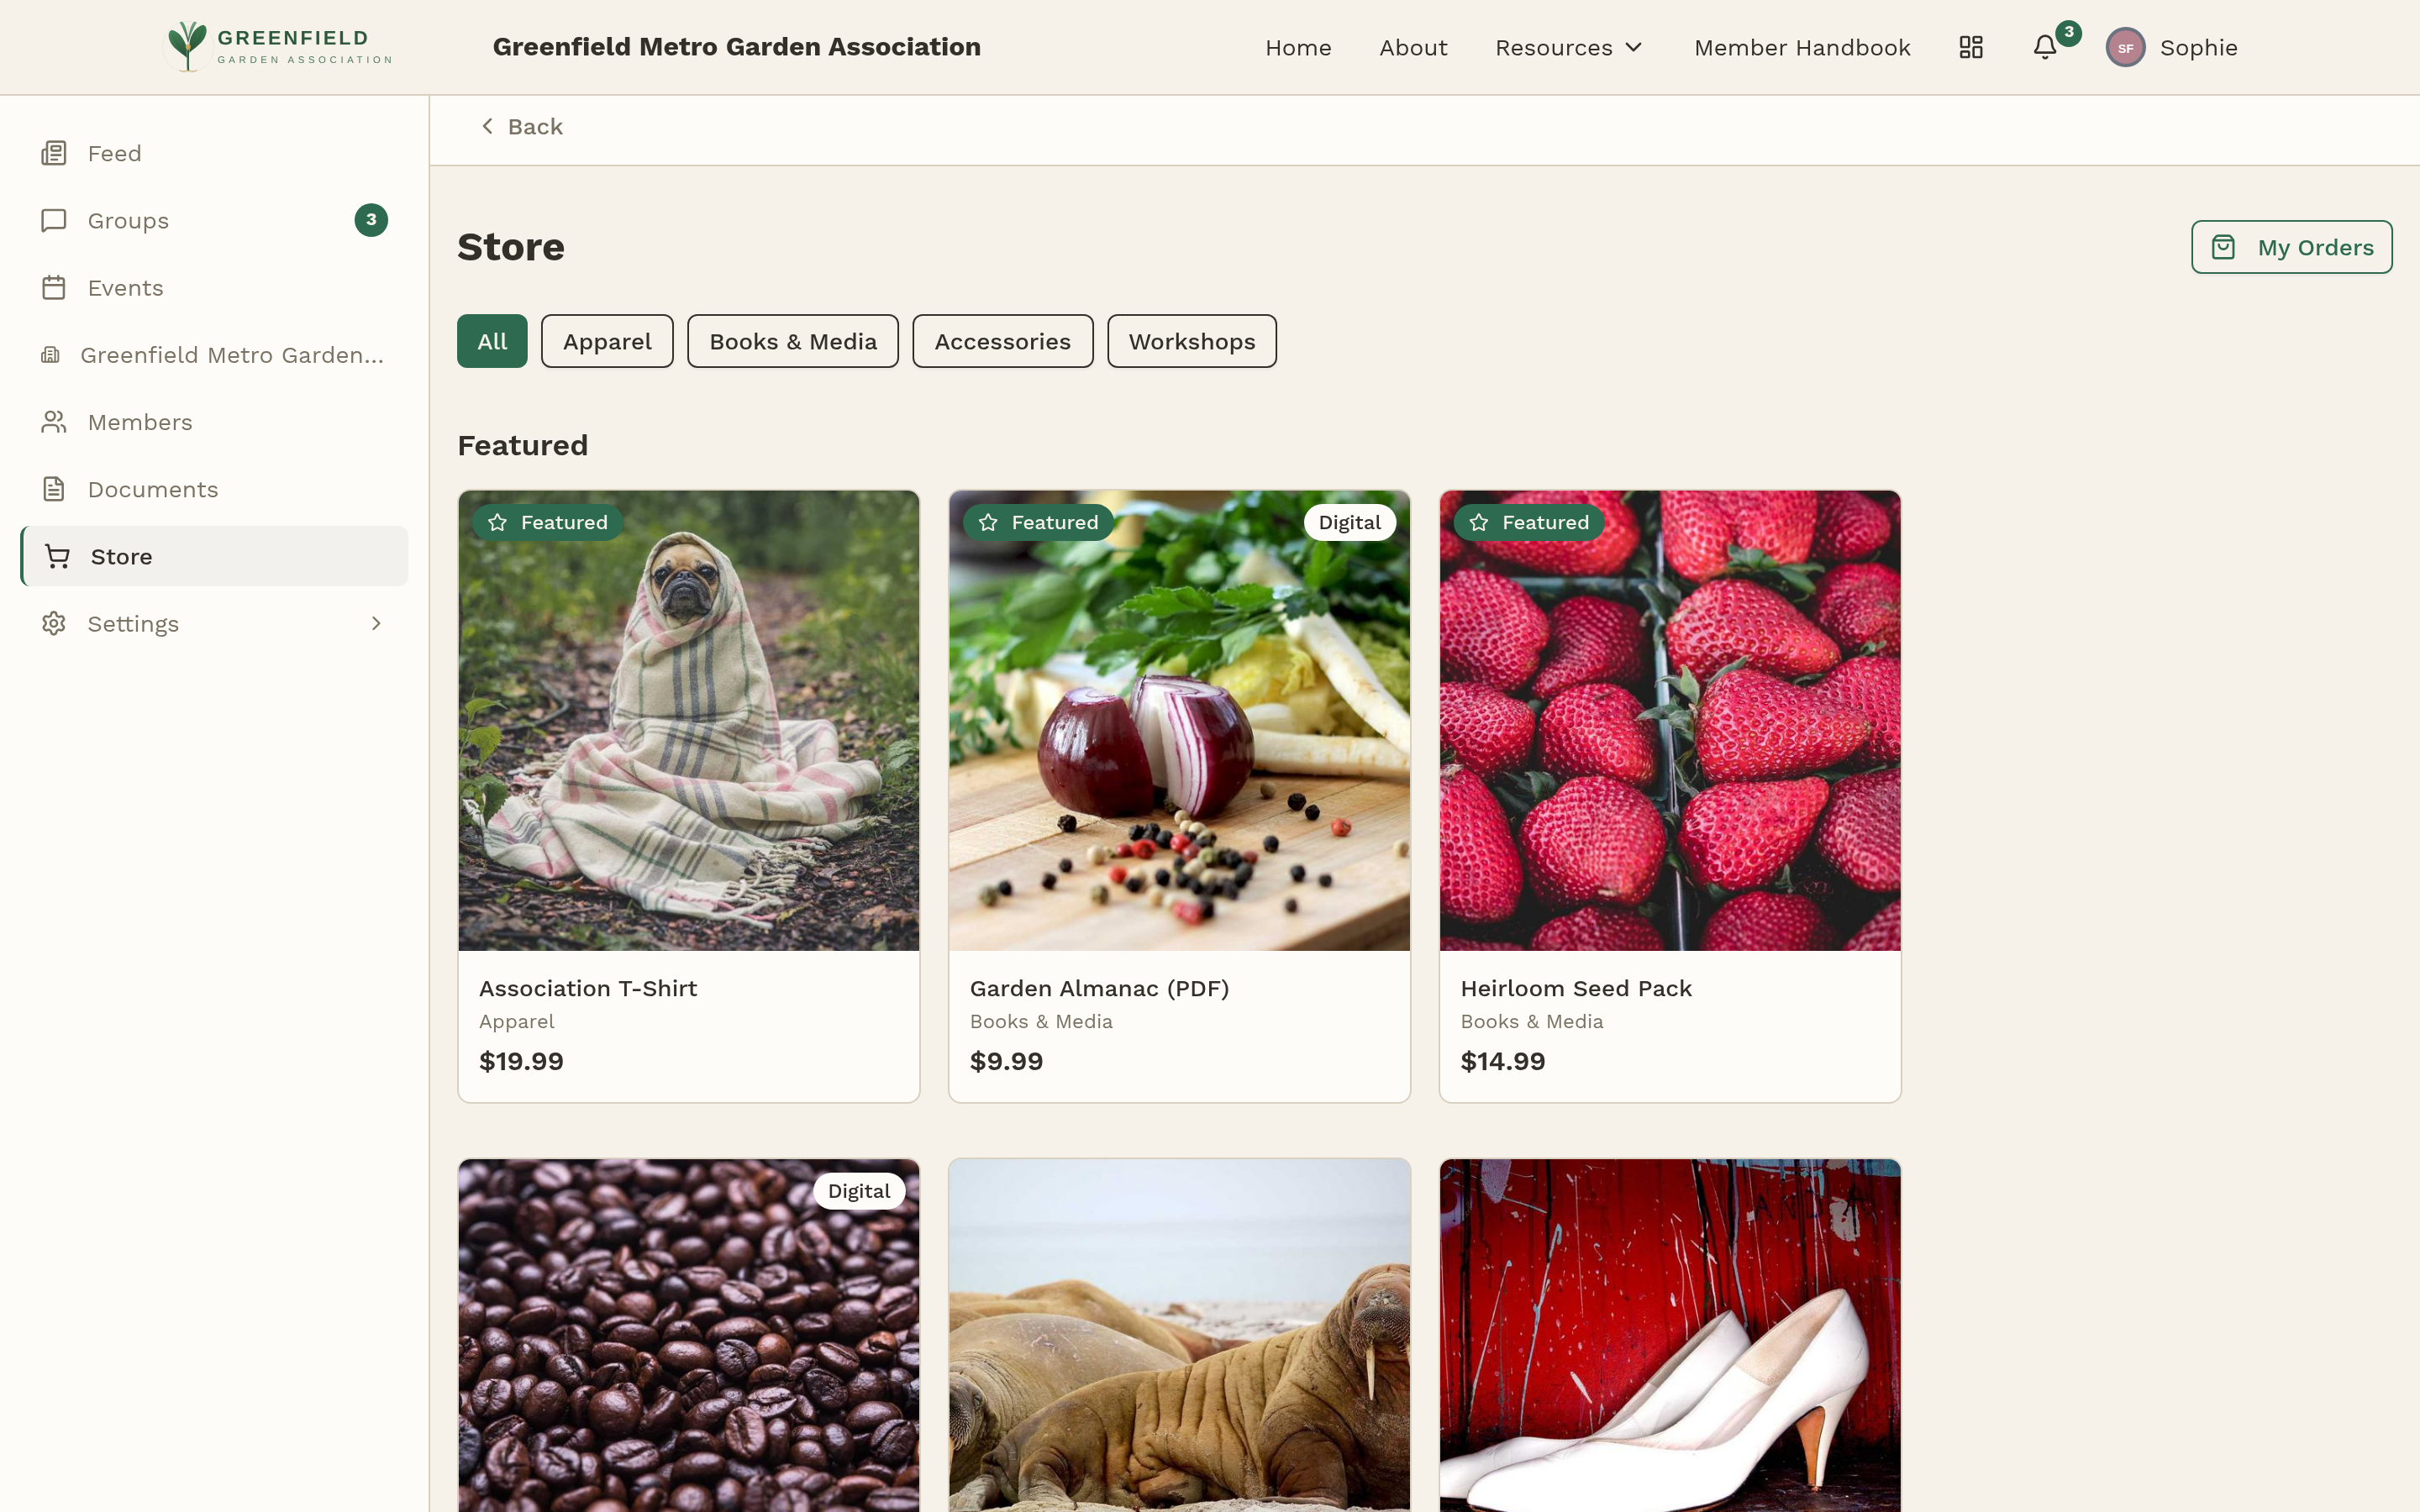
Members can:
- Browse items, filter by category, or look at the Featured section.
- Click an item to see details, photos, options (size, color, etc.), and any custom questions you've set up.
- Add items to a cart, pick a shipping method, and check out with a credit card.
- Track their orders from a My Orders page — with status updates, tracking numbers, and any backorder notes you add.
What you see
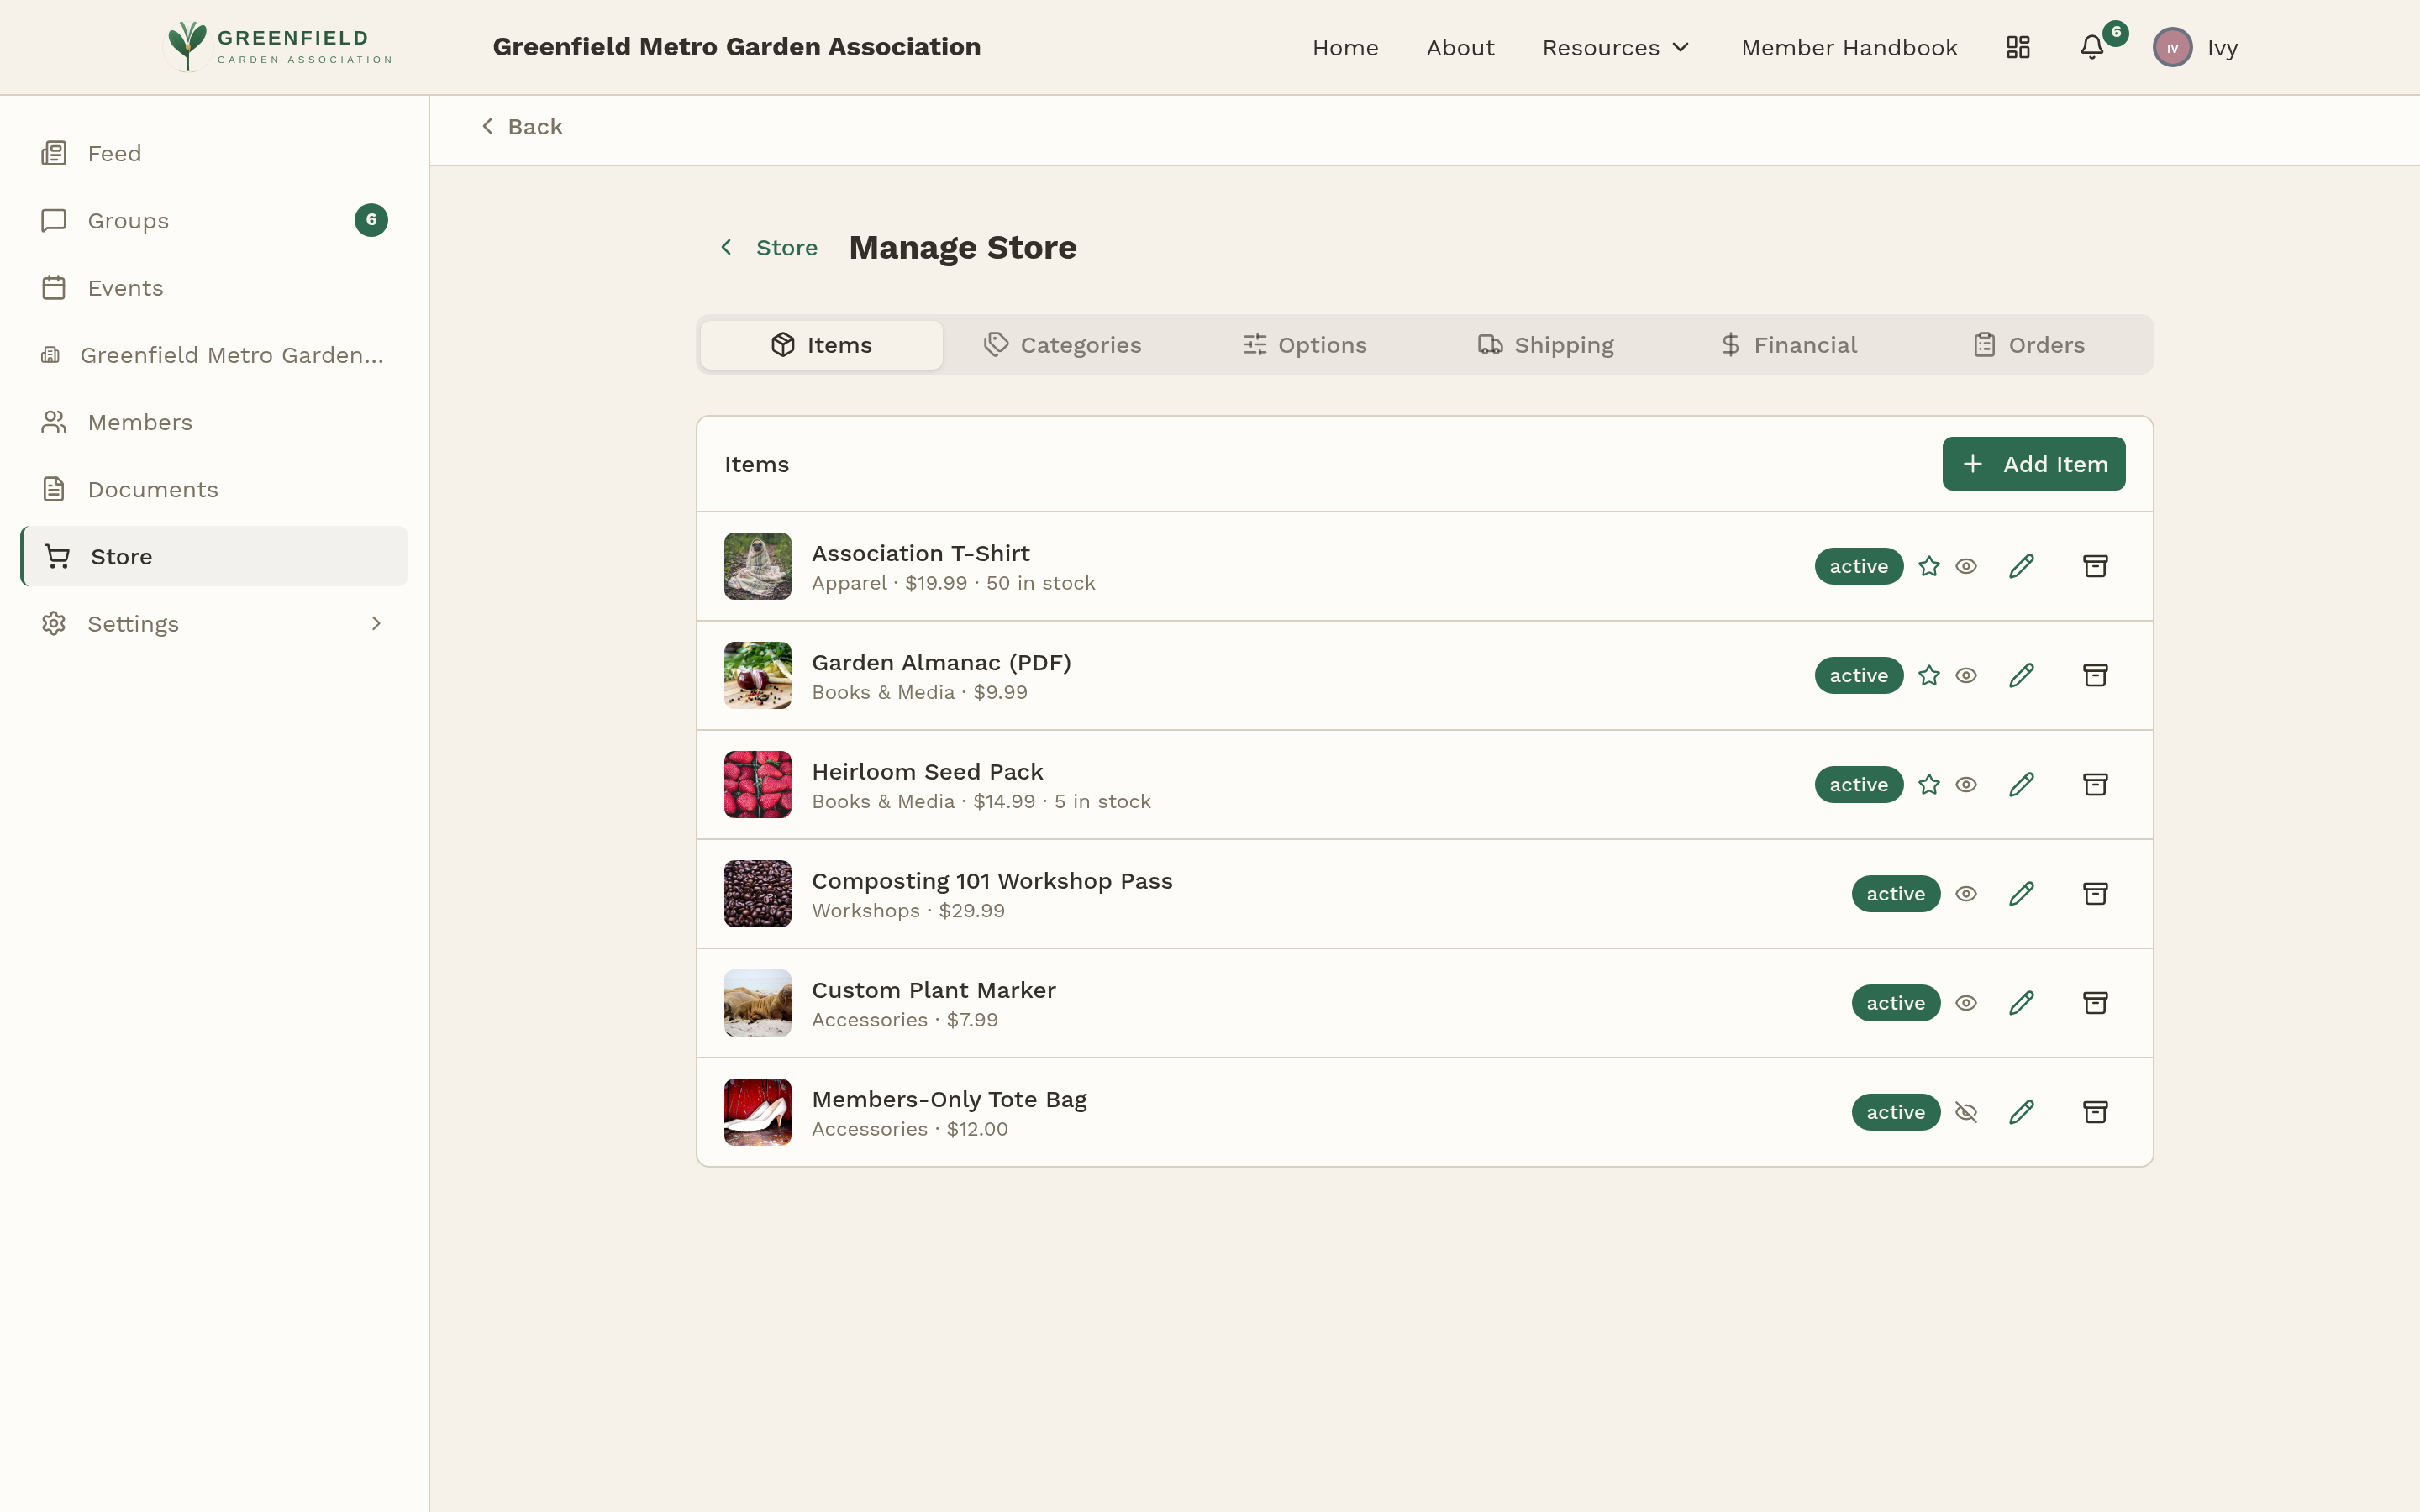
Your hub is reached by opening the Store sidebar link and clicking Manage Store in the top right. It has seven tabs:
- Dashboard
- An at-a-glance summary of your store — the landing tab when you open Manage Store.
- Items
- The product catalog. Add new items, edit existing ones, toggle active/inactive, and see stock levels at a glance.
- Categories
- Group items into sections (Apparel, Books & Media, Workshops, etc.) so the storefront is easy to browse.
- Options
- Reusable option templates — "Size: S / M / L" or "Color: Red / Green" — that you can attach to multiple items without retyping.
- Shipping
- Shipping methods and rates ("Standard — $5 — 3-5 business days"), which countries you'll ship to, and your default rate.
- Financial
- Financial categories for bookkeeping. These tag each item so you can sort sales by category when you're reconciling.
- Orders
- Every order placed in the store. Search, filter by status, and work through them one at a time.
How Checkout Works
When a member checks out, the payment goes through Stripe — not through fellos directly. That means:
- The money lands in your organization's Stripe account, not inside fellos.
- fellos records the order, then waits for Stripe to confirm the charge went through before marking it paid.
- If the store isn't connected to a real Stripe account yet, checkout won't work for members. Your Site Admin handles that in Admin → Payments.
You don't need to know Stripe to do your job. If the store is accepting payments, Stripe is set up correctly. If members are getting errors at checkout, that's a question for your Site Admin.
Public vs. Members-Only Items
Each item you create has a visibility setting. You can choose whether it's visible to anyone who lands on the site (public) or only to signed-in members. Use this for things like:
- Public: event tickets for the general public, open merchandise, workshop passes.
- Members-only: members-only discounts, internal supplies, items restricted to paid members.
Your public storefront lives at /store on your site — share that link on social media or in emails for items that non-members can buy.
What to Do First
If you're brand new to running the store:
- Poke around the Items tab to see what's already there. Click one to see how the details are set up.
- Check the Categories tab and make sure they match how you'd want members to browse.
- If you're going to need reusable options (sizes, colors, etc.), skim the Options tab — you'll save time later.
- Look at Shipping to confirm the rates and delivery promises are current.
- Open the actual storefront (Store in the sidebar) to see what your members see.