Options & Categories
Make your catalog tidier and save yourself time.
The Options and Categories tabs on Store Manage are where you set up reusable pieces that keep your catalog consistent.
Categories
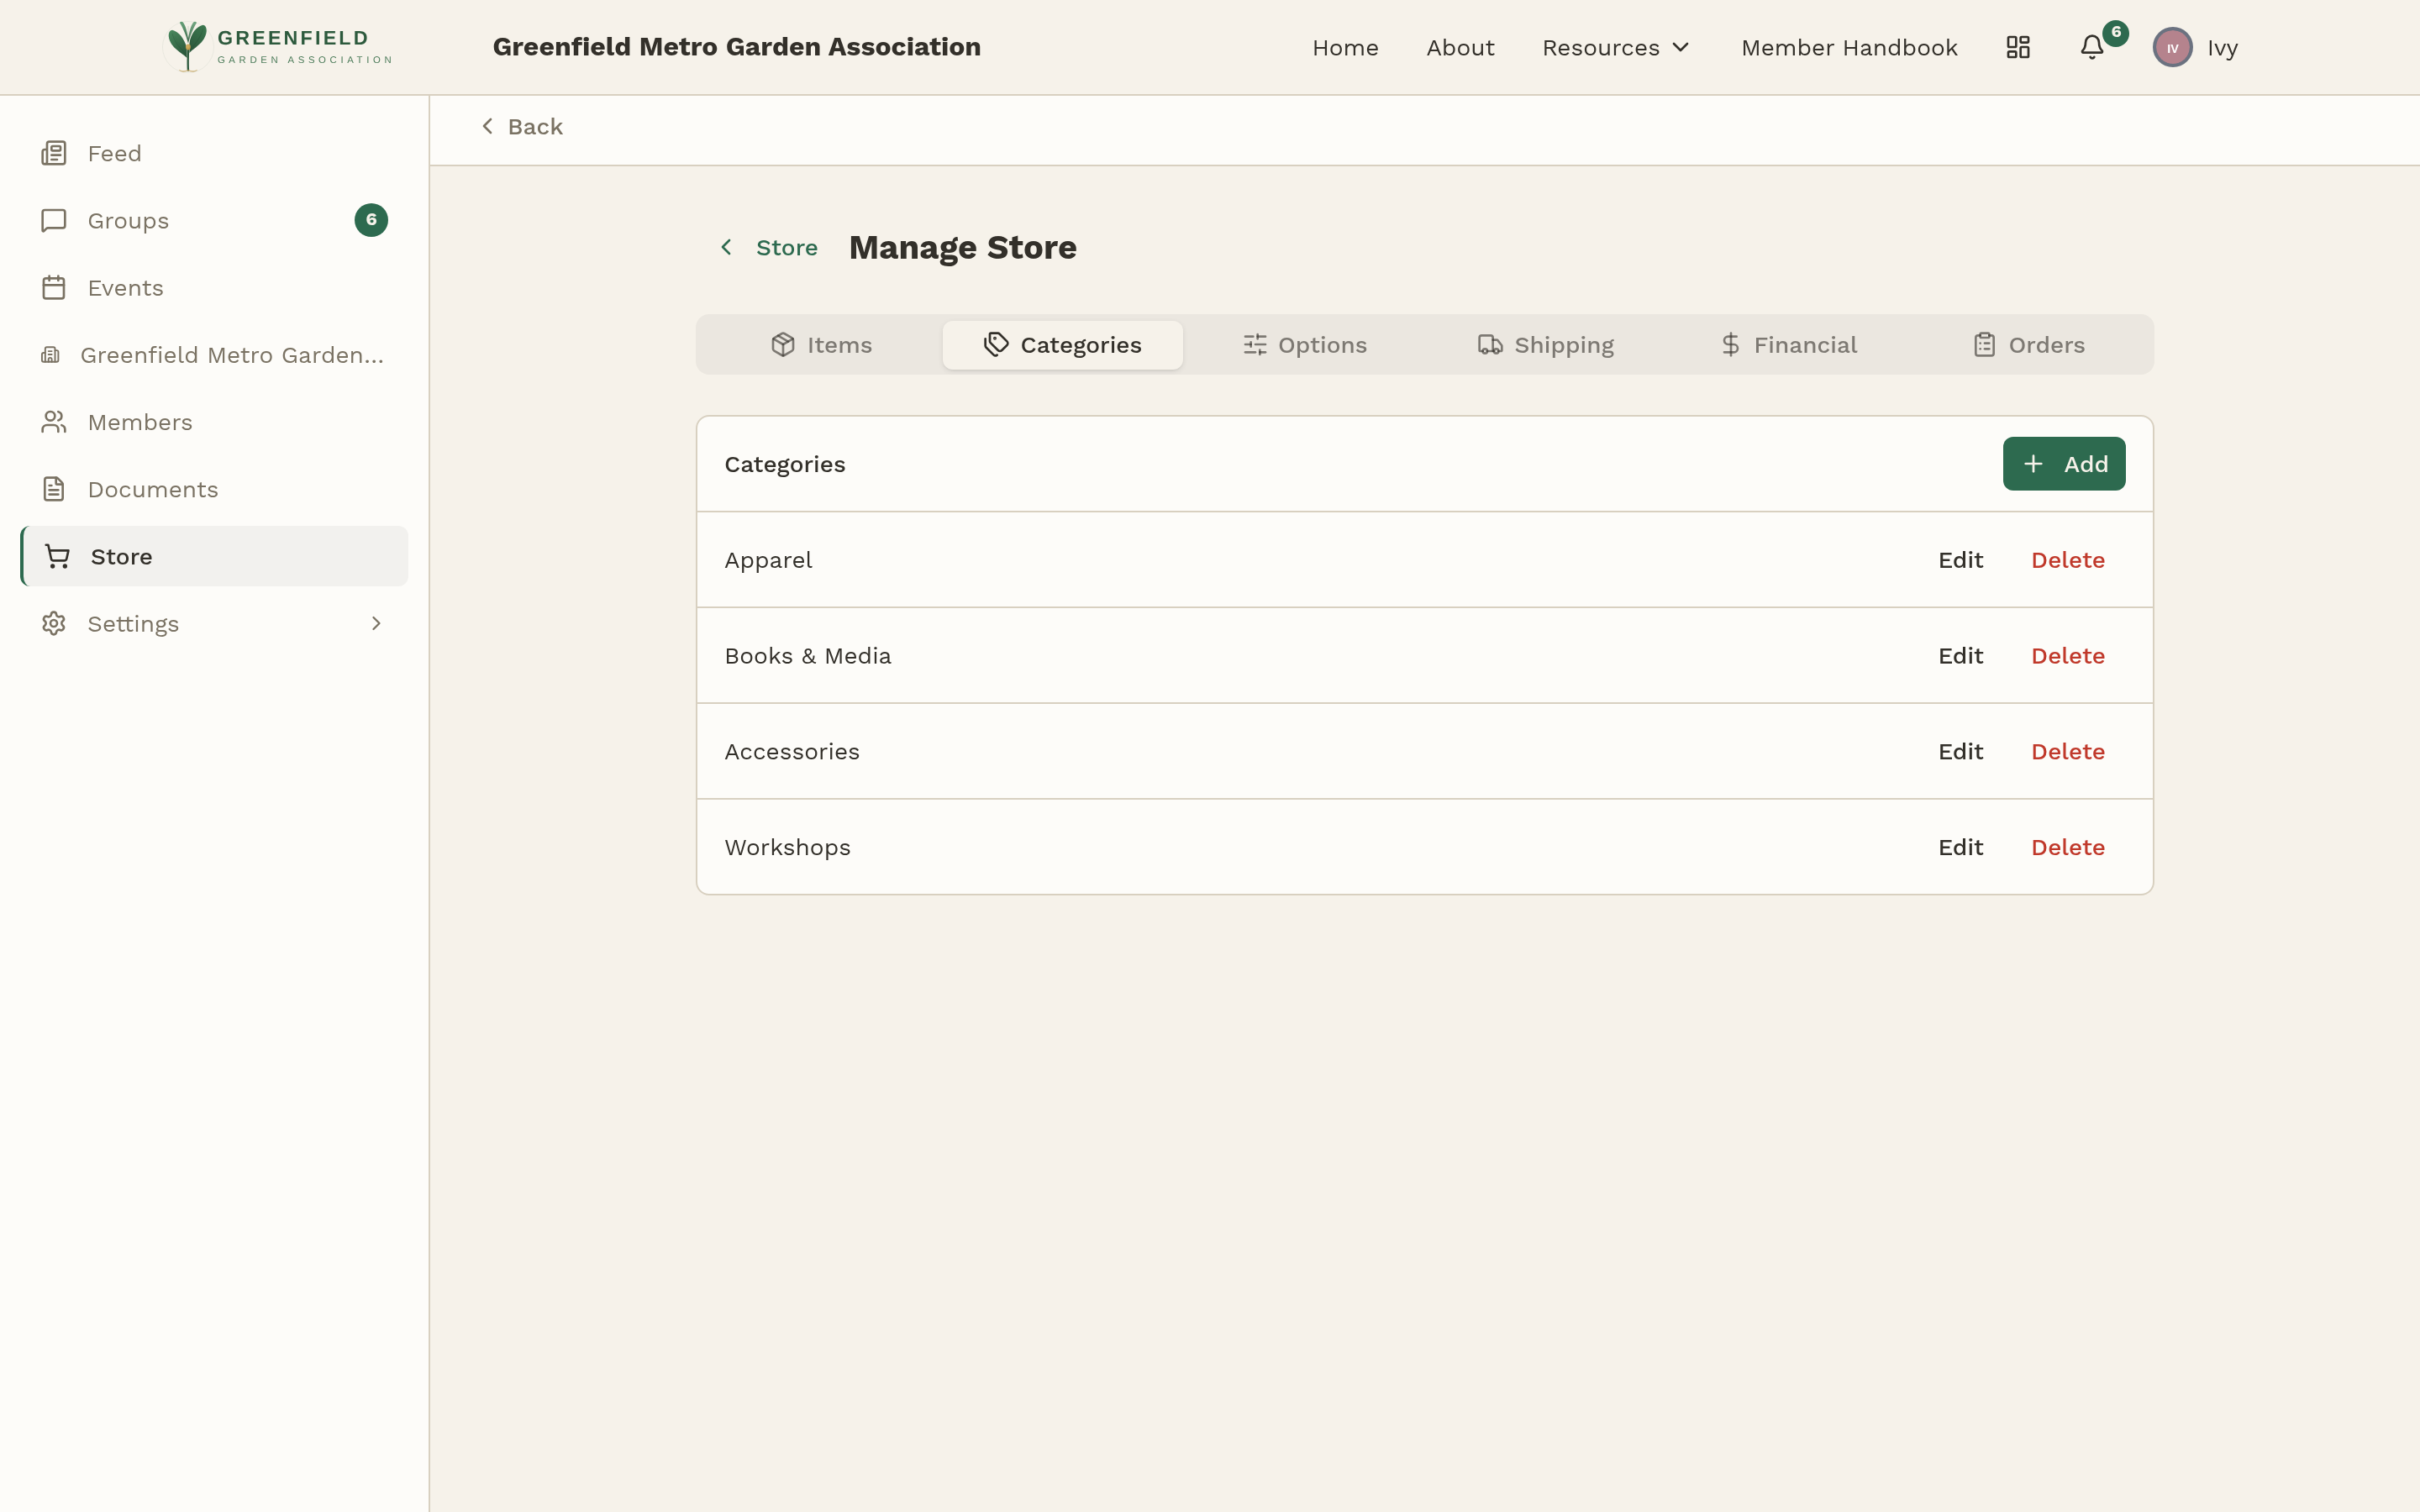
Categories are how the storefront is organized. When members visit the store, they see category chips across the top ("All", "Apparel", "Books & Media", etc.) that filter the catalog.
Adding a category
- Open Store → Manage Store → Categories.
- Click Add.
- Type a name. Keep it short — it has to fit on a filter chip on the storefront.
- Save. The category is immediately available on the item editor.
Editing and deleting categories
Every row has Edit and Delete buttons. Reassign any items to a different category before deleting (otherwise members lose the link).
Option Templates

An option template is a reusable set of choices you can keep alongside your catalog. The Options tab is the central place to define, edit, and review them — think of it as your shared library of option lists ("Shirt Size: S / M / L", "Mug Color: White / Black").
Creating a template
- Open Store → Manage Store → Options.
- Click Add Template.
- Give it a name (e.g., "Shirt Size").
- Add values one at a time, with optional price adjustments (a positive number adds to the item price, a negative number subtracts — great for 2XL shirts that cost more).
- Save.
On an item editor, options are added ad-hoc — one at a time with their own name and values (see Adding & Editing Items → Options). Templates serve as your canonical reference list — copy the values across when you're setting up a new item. Past orders always keep whatever option values were chosen at the time of purchase.
Financial Categories
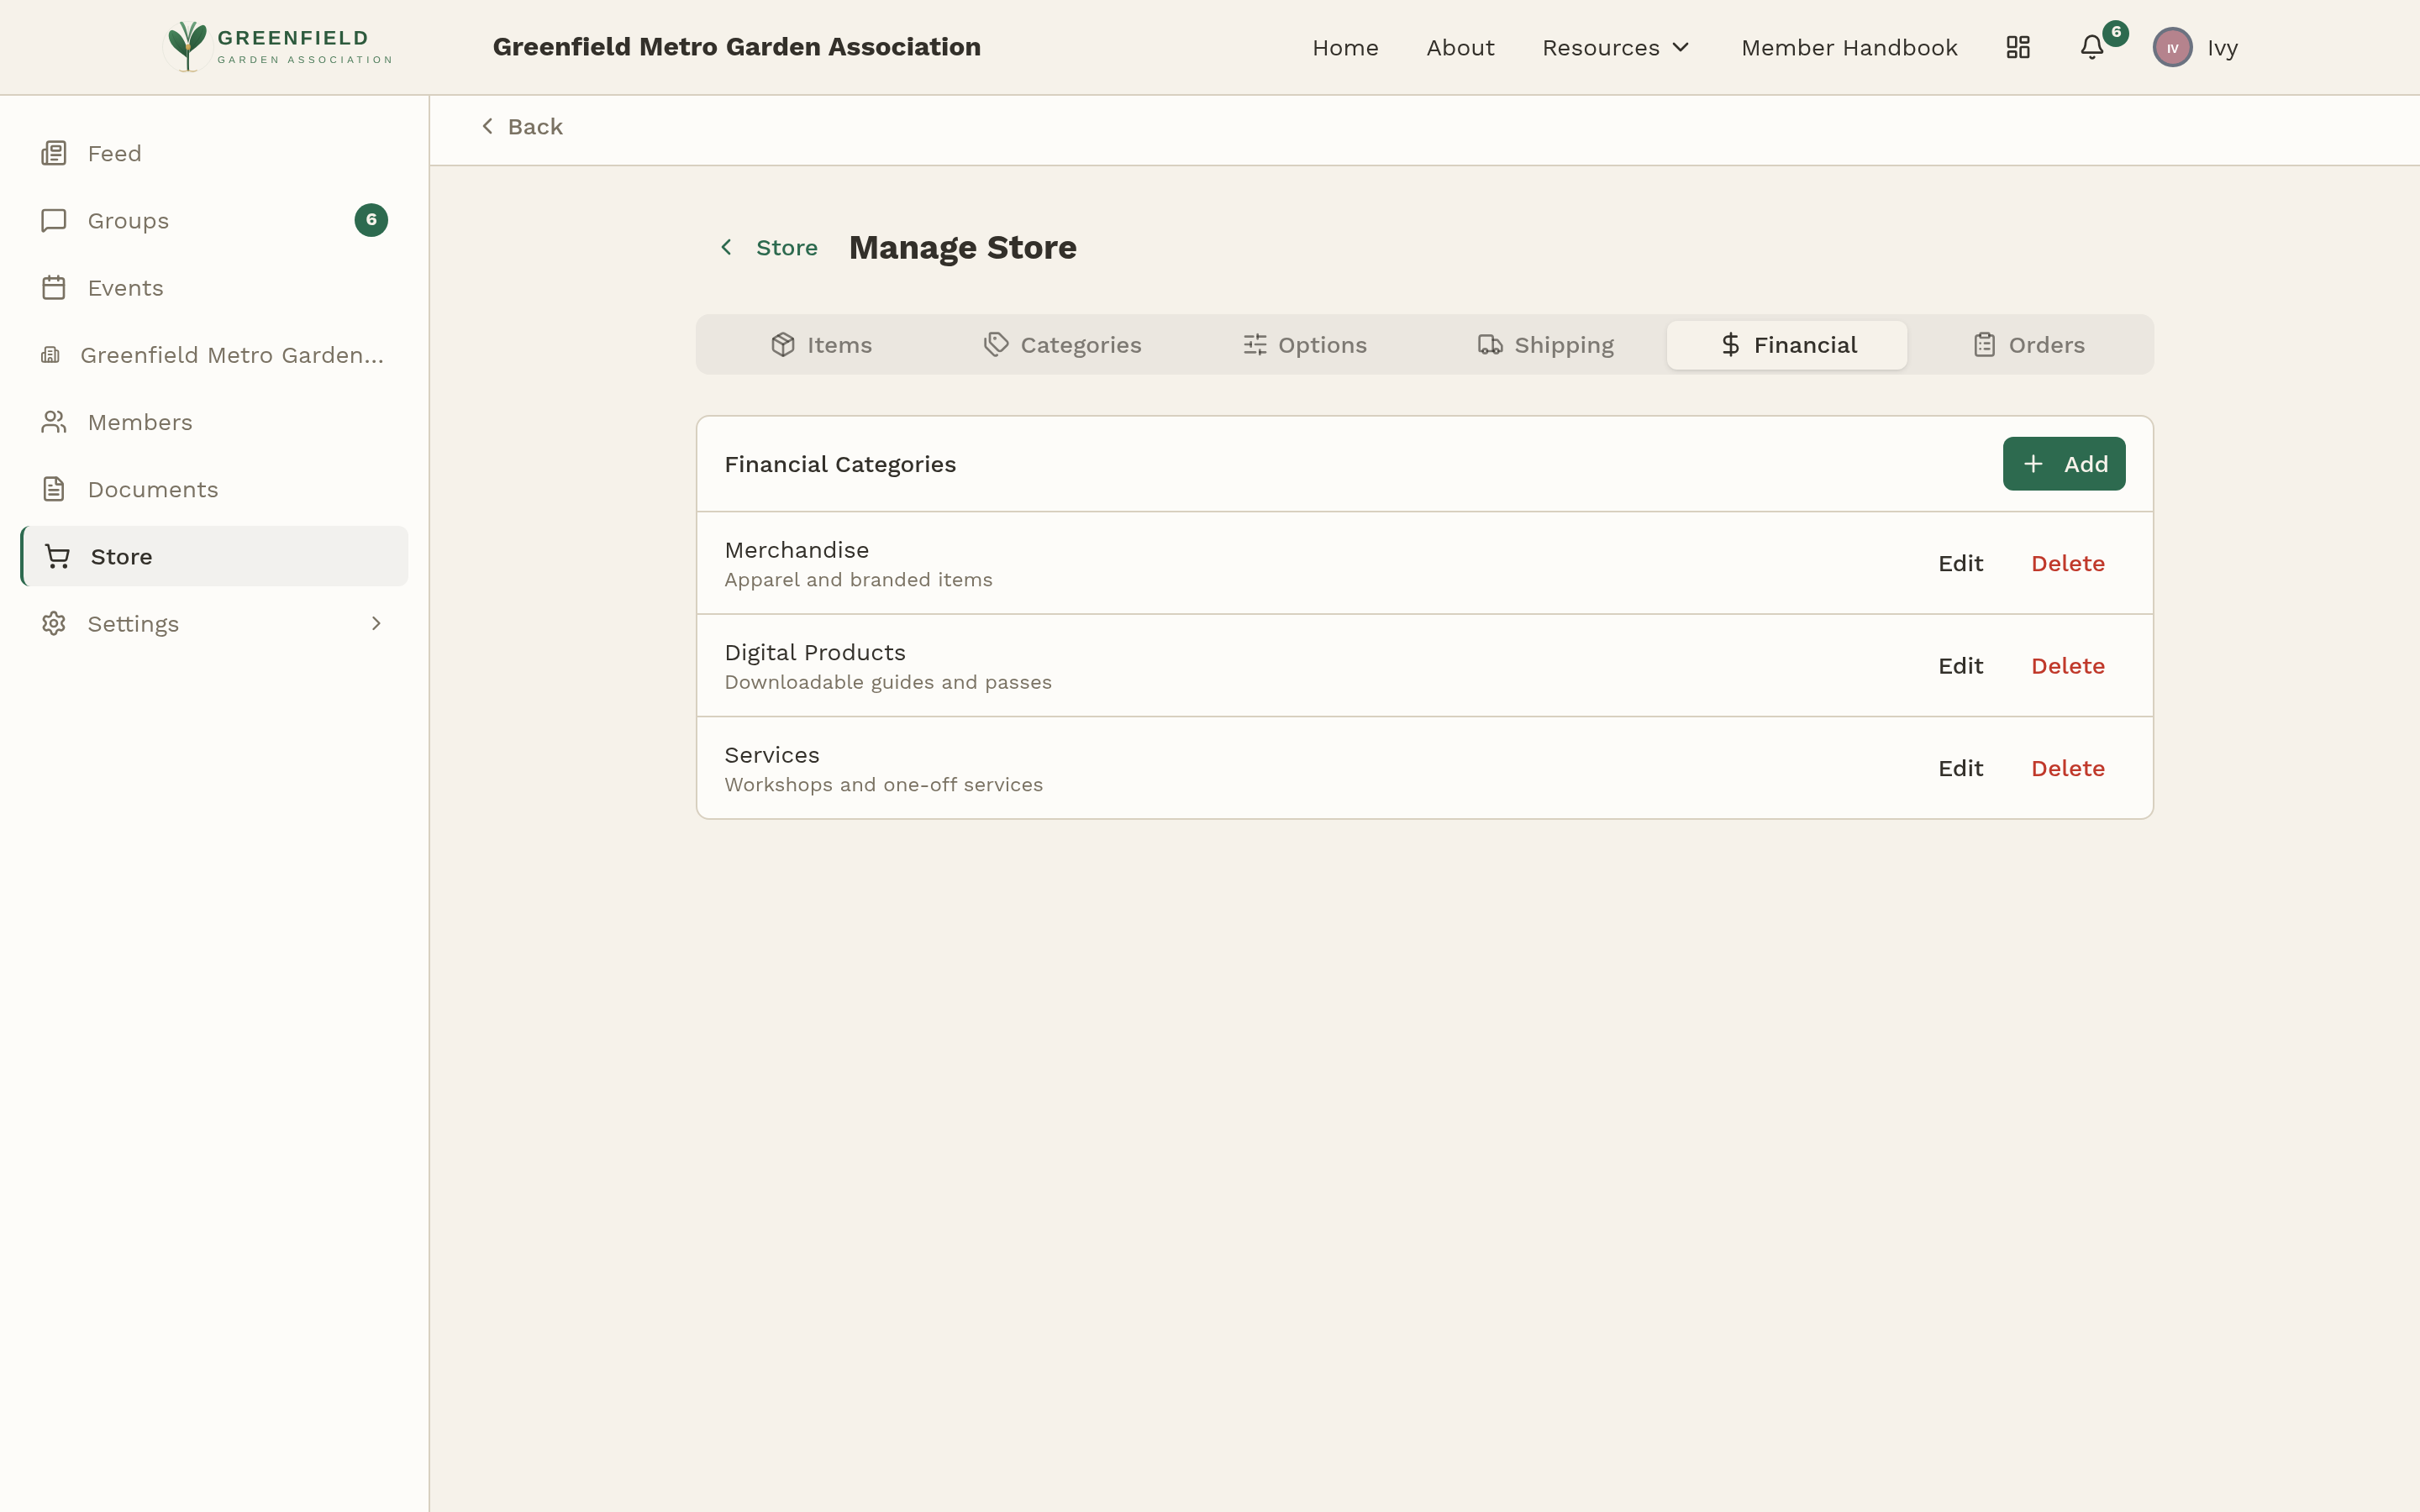
Financial categories are tags for your accountant's benefit. They don't affect what members see. Examples of useful categories:
- Merchandise — apparel, mugs, stickers.
- Publications — books, almanacs, printed guides.
- Workshops — class registrations, event passes.
- Dues — if you sell membership extras through the store.
When you add a financial category to an item, every sale of that item is tagged. Later you can export orders filtered by category to see exactly how much came in from each line.
Adding a financial category
- Open Store → Manage Store → Financial.
- Click Add.
- Name it in a way your accountant will recognize, and add a short description if it helps later-you remember what it's for.
- Save. Each row also has Edit and Delete buttons for later.
Talk to whoever handles your books before you set these up. It's much easier to align your categories with the accounts they're already tracking than to renumber later.