Scanner & Check-in
Who gets in, who doesn't, and how many people showed up.
On event day, you use your phone or tablet as a ticket scanner. Members show their QR code (either printed or on their phone), you scan, and fellos verifies the ticket and marks them in.
Who Can Scan
The Event Scanners section on the event page spells it out: "Comptrollers and admins can always scan." In addition, you can grant per-event scanner access to any member:
- Comptrollers and Site Admins — can always scan any event. No setup needed.
- Assigned scanners — specific members you've added to this event. That access is automatic only for this event, and only for scanning — it doesn't grant any other permissions.
Assigning Scanners for an Event
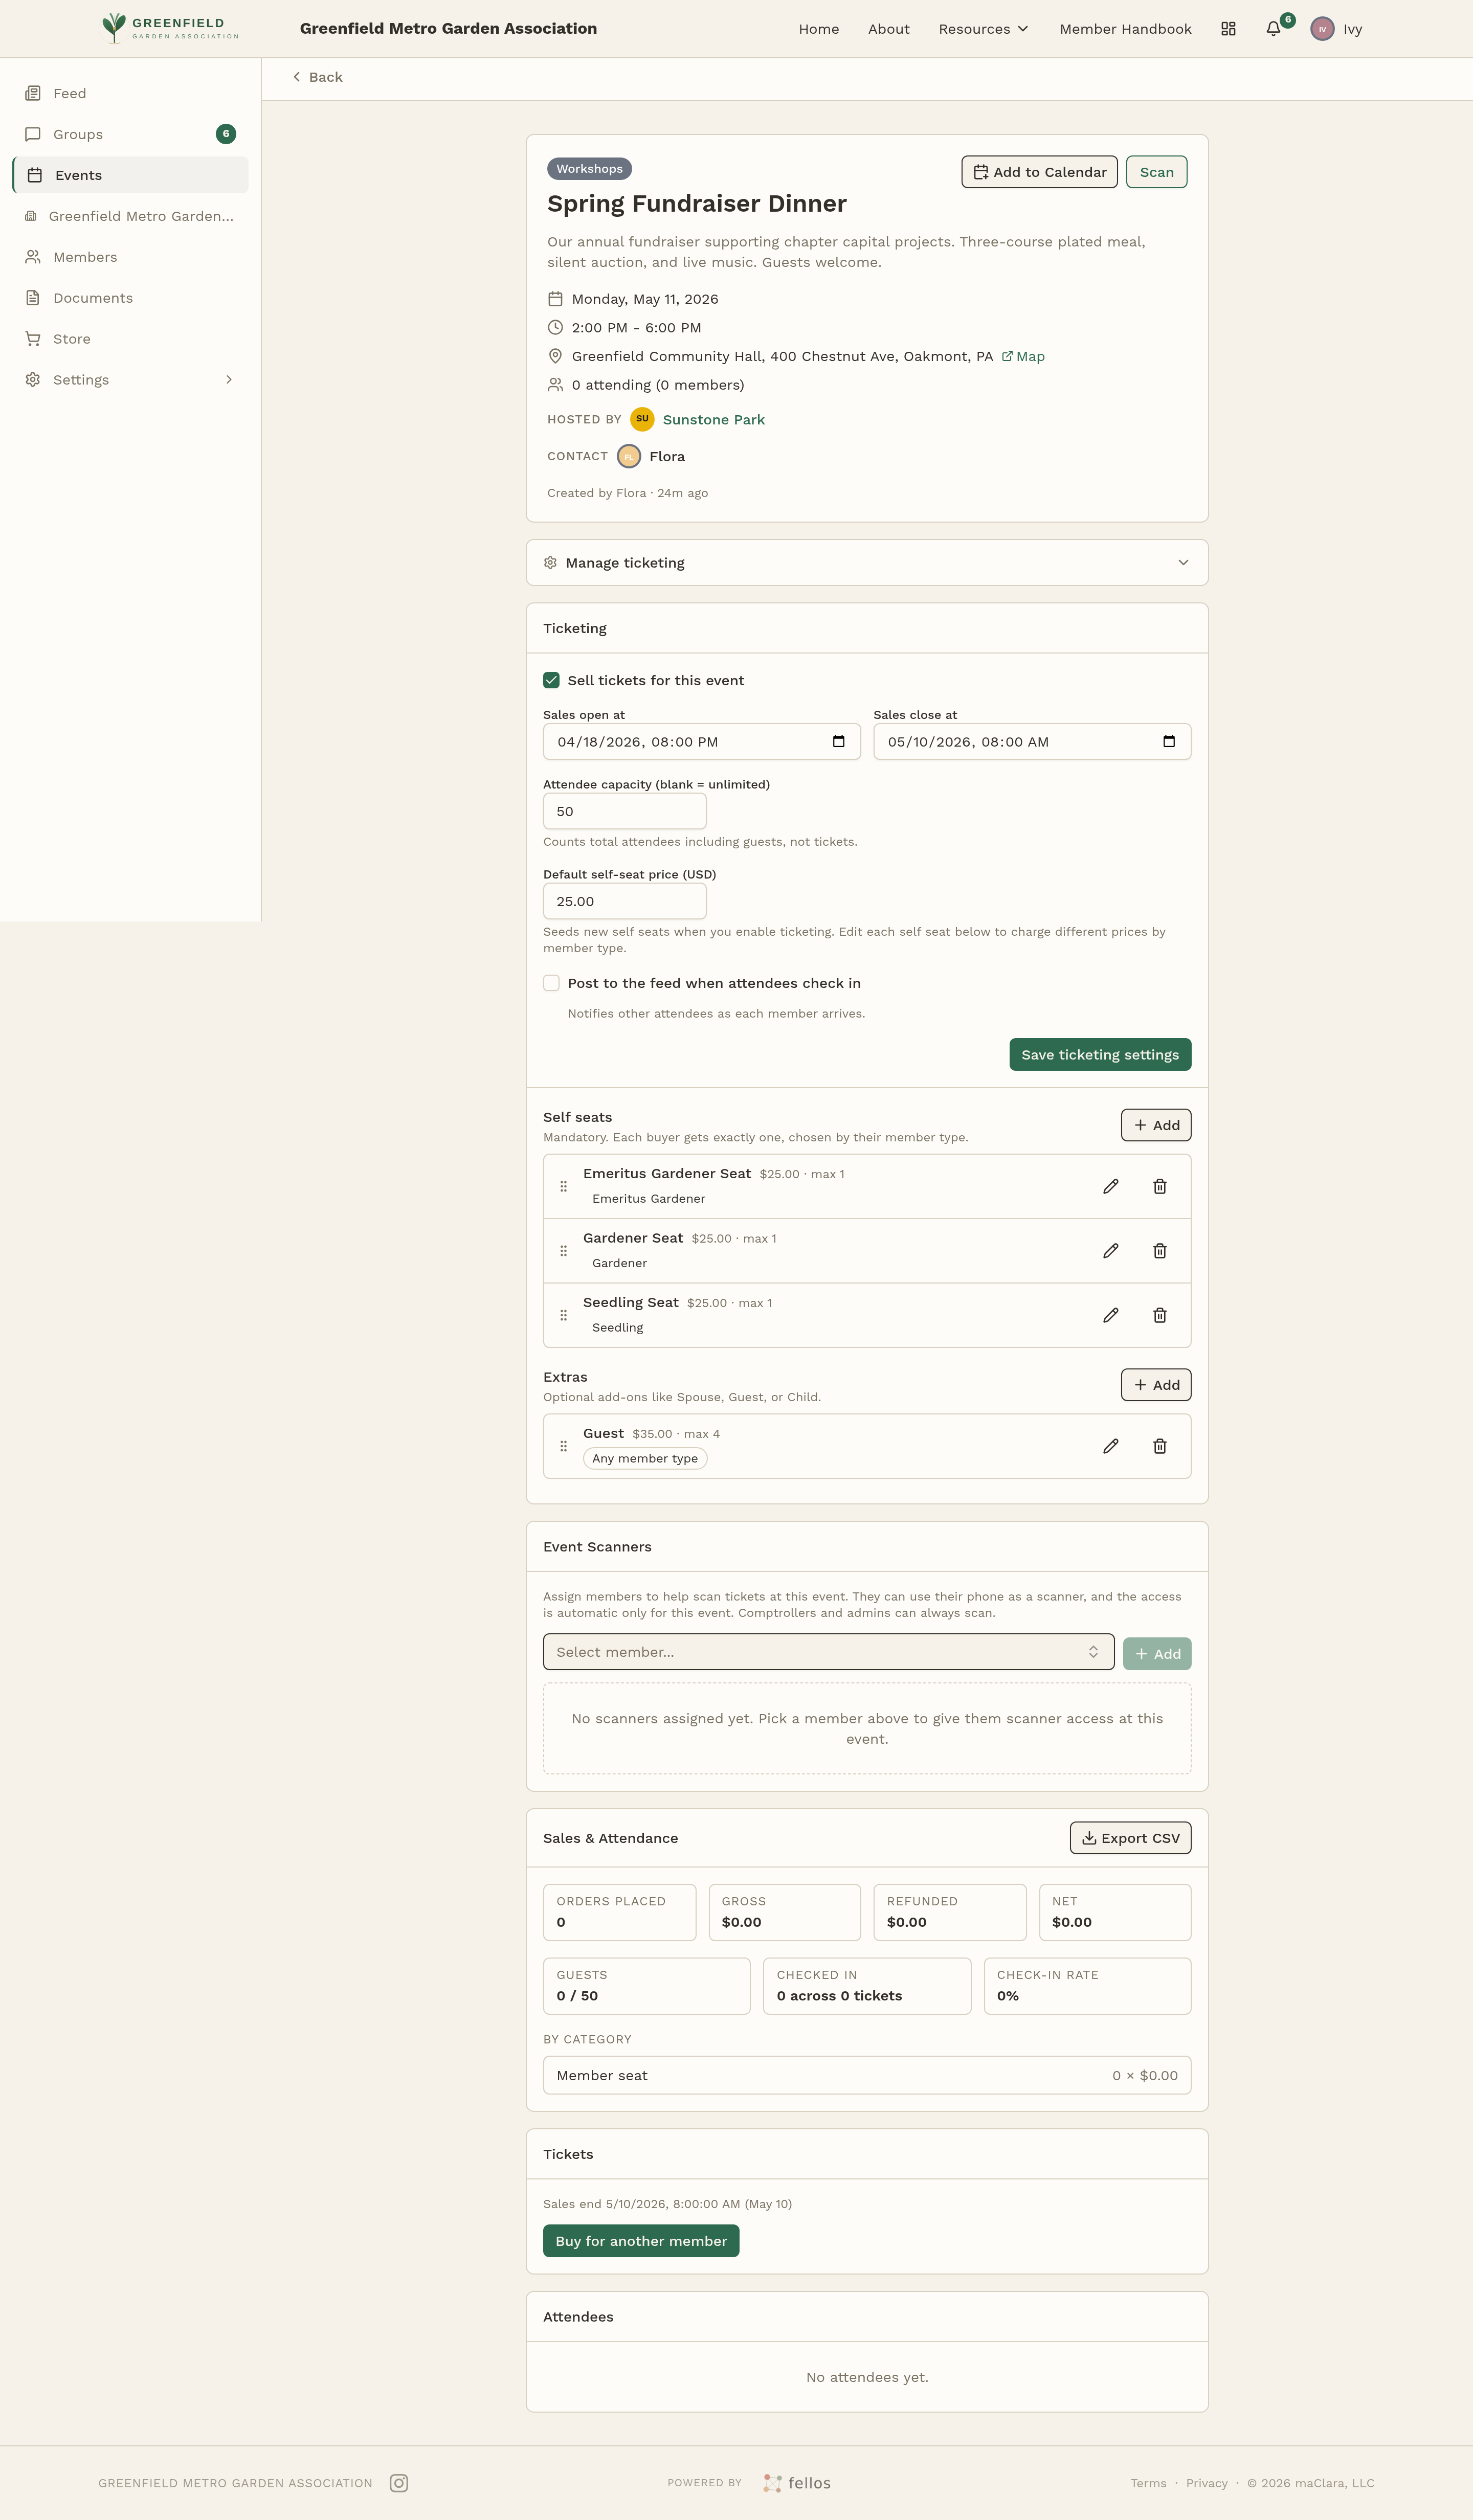
- Open Events and click into the event.
- Scroll down to the Event Scanners section (empty text reads "No scanners assigned yet. Pick a member above to give them scanner access at this event.").
- Use the Select member... dropdown to pick someone.
- Click Add.
- Repeat for each volunteer. Remove scanners later with the control next to their name.
Using the Scanner
On event day:
- Open the event page on your phone or tablet.
- Tap the Scan button on the event page. You'll need to allow camera access the first time — if the browser can't find a camera, the scanner shows "Requested device not found" and you'll need to open it on a device with a working camera.
- Point the camera at the buyer's QR code (either printed or on their phone).
- The scanner verifies the ticket against fellos and shows the result. Let valid attendees in.
- Repeat for the next person.
Keep the scanner open while the door is active — the running N / total checked in counter at the top updates as you scan.
If the Network Goes Down
The scanner needs a connection to verify tickets — there's no offline mode today. If you lose network at the door, pause scanning and keep people moving: check names against your attendee list on another device (laptop, tablet, or the event page on another phone), note arrivals by hand, and catch up on the scanner once Wi-Fi returns.
Open the event page on a laptop at the welcome table alongside the phone scanner. Doing so gives you a "plan B" — you can always check who's paid by scrolling the Attendees list even if the scanner hiccups.