Adding & Editing Items
Build your product catalog — one item at a time.
An item is anything you want to sell — a t-shirt, a book, a workshop pass, a digital download. This page walks through every option available on the item editor.
Creating a New Item
- Open Store from the sidebar, click Manage Store, then pick the Items tab.
- Click Add Item in the top right.
- Fill out the fields described below.
- Click Create Item. If Status is Active, it's live on the storefront right away; if it's Inactive, the record saves but members don't see it yet.
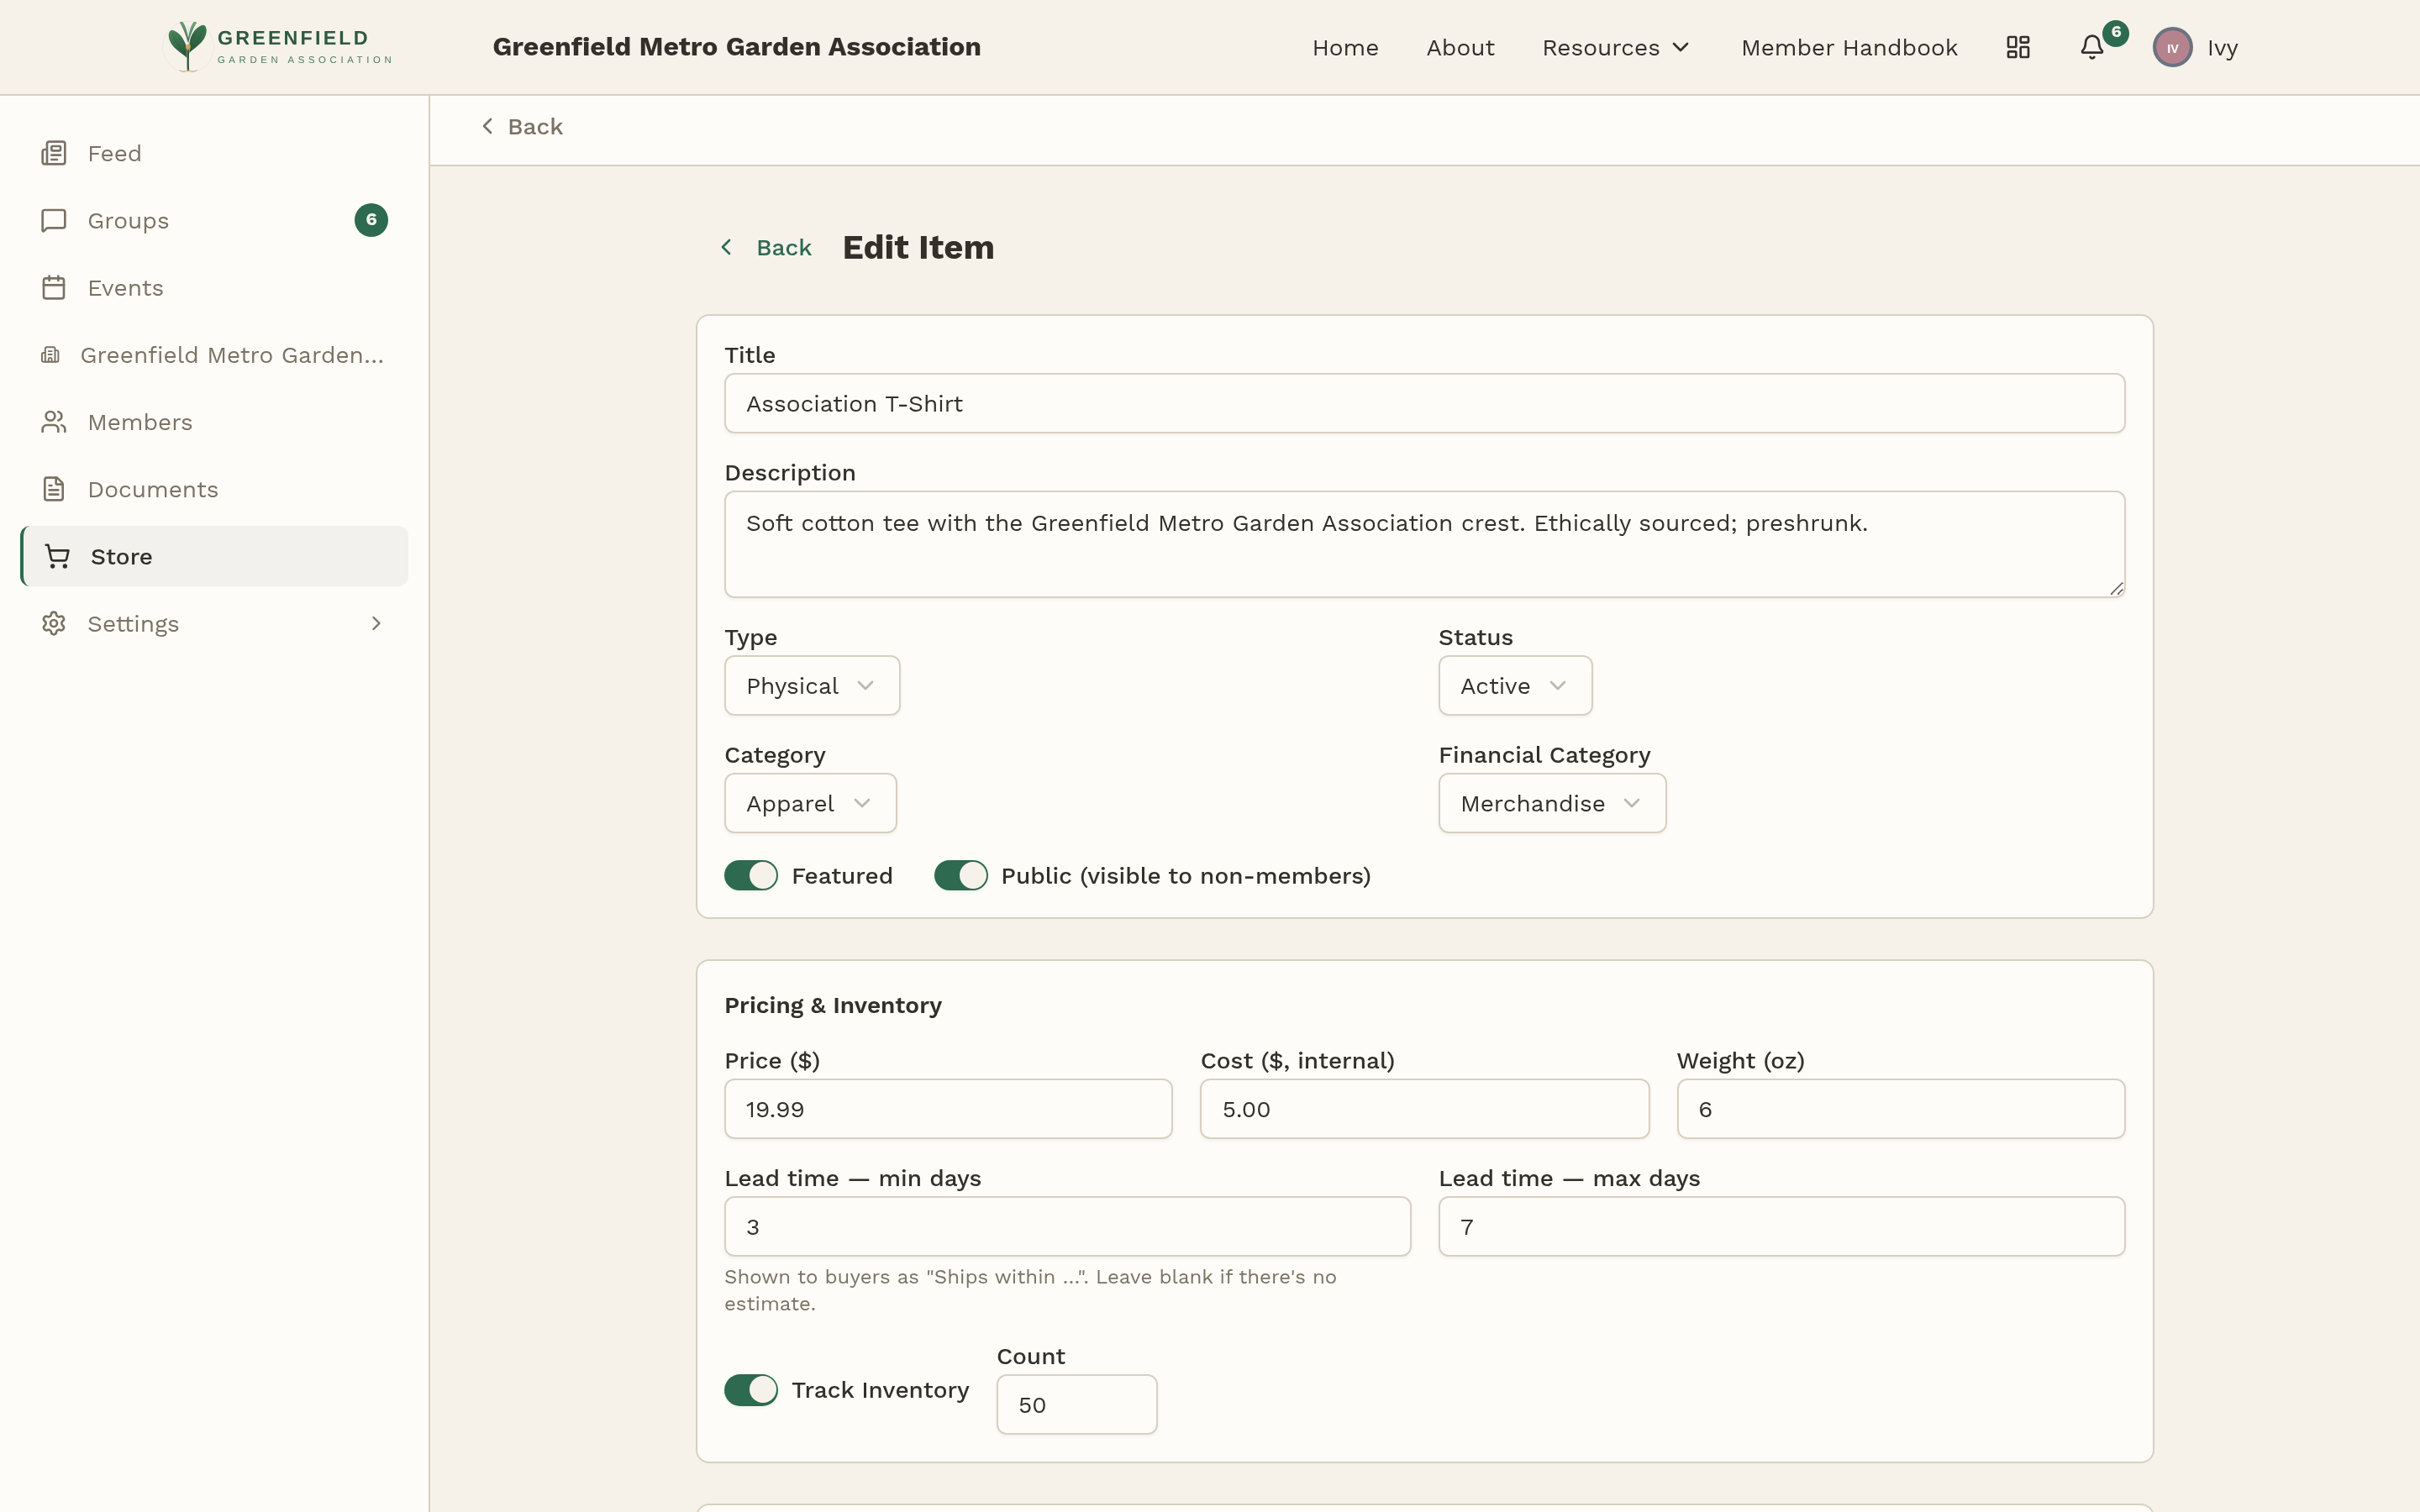
Basic Information
- Title
- The item's name. Keep it short and descriptive ("Association T-Shirt", not "Fresh Off the Press — Our Brand New 2026 Collection Tee").
- Description
- A paragraph or two about the item. You can use basic HTML for bold, links, and lists if you need them. This shows up on the item detail page.
- Type
- Pick Physical for things that ship (t-shirts, mugs, printed books) or Digital for things that don't (downloads, workshop passes, event credits). Digital items skip the shipping step at checkout.
- Status
- Active shows the item in the storefront. Inactive hides it but keeps the record (useful for seasonal items you'll bring back later).
- Category
- Which section of the storefront the item appears in. Categories are defined in the Categories tab.
- Financial Category
- A tag for bookkeeping ("Merchandise", "Event Revenue", etc.). This doesn't affect what members see — it's just for your reports. See Payouts & Reconciliation.
- Featured
- When on, the item shows up in the Featured strip at the top of the storefront. Use sparingly — featuring everything is the same as featuring nothing.
- Public (visible to non-members)
- When on, people who aren't signed in can see and buy this item from
/store. When off, only signed-in members see it. Use Public for things like general-public event tickets.
Pricing & Inventory
- Price
- What the item costs in dollars. This is the base price — options can add to it.
- Cost (internal)
- What the item costs your organization to acquire or make. Only you see this — it's used to track margin in reports, not to set a member price.
- Weight (oz)
- Item weight in ounces. Used for automatic shipping rate calculation when USPS is enabled. Leave blank for digital items.
- Lead time — min / max days
- How long after purchase before the item ships. For example, 3–7 for made-to-order items. Members see this as "Ships within 3–7 days". Leave blank if there's no estimate.
- Track Inventory
- When on, fellos counts each sale and marks the item Out of Stock when it hits zero. When off, the item can be bought any number of times — use for digital items or when you have plenty on hand.
- Count
- How many you have in stock right now. Only shown when Track Inventory is on.
Images
Click the dashed Upload tile to add a photo (JPEG, PNG, or WebP). You can upload as many as you like; the one marked Primary is what members see on the storefront tile and at the top of the detail page.
Each image has a small menu (the three-dot button in its top-right corner) with options to make it primary or remove it.
Options
Options are per-item variations — size, color, engraving style. Buyers pick an option at checkout, and each option value can adjust the price up or down.
Click Add Option on the item editor and give it a name (e.g., "Size"). Each option expands to let you add values (Small, Medium, Large) with optional price adjustments. Use the grip handle on the left to drag options into whichever order makes sense to buyers.
Options you add here apply only to this item. If you need the same list across many items (like shirt sizes), set up an Option Template in the Options tab instead.
Custom Questions
Questions are prompts buyers answer during checkout — useful when you need extra info to fulfill the order. Examples:
- "What name should we engrave on the marker?"
- "Any dietary restrictions?" (for a dinner ticket)
- "Preferred pickup time?" (for local pickup)
Click Add Question, give it a title and description, and mark it required if the buyer must answer. Their answers show up on the order when you open it — so you'll have everything you need to fulfill.
Editing an Existing Item
From the Items tab, click any item row to open it in the editor. Change whatever you need and click Save Changes.
Editing a price doesn't change the price on orders that have already been placed — only new orders use the new price. Same for options and questions.
Retiring an Item
When something is no longer for sale, open it and flip Status to Inactive. That pulls it from the storefront but keeps the record and past orders intact. Bring it back later by flipping Status back to Active.
Deleting items isn't recommended — it can break links from past orders. Inactive is almost always what you want.